Well. It's happened. We have officially switched gears from our unfinished bedroom remodel to an office space remodel.
Is it just us? Or does this happen to you, too? You get to a stopping point on one remodel project - and that is just enough to take the steam out of you. Then you get excited about starting something else? My hope is that one day it will all come full circle, and we come back 'round to finish those projects that we put on hold.
Having said that, I am happily sitting in my freshly painted bright office - feeling much more inspired than in the cluttered cave I had to work with before. We are a few days away from being done (which could mean about 3 months according to our remodel patterns), but meanwhile I have a quick and easy upcycle project to share, and a peek at another in progress - both adding to the office decor but practical at the same time.
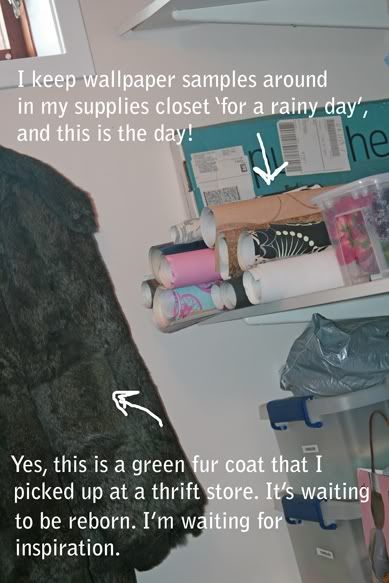
While I was watching paint dry - no joke - I had a look at our plain white metal file cabinet in the middle of the room and thought, "I can do better than that." So, off I went to my
I like to take a few wallpaper samples each time I visit my local home builder's store. I've got a nice little collection now. There are multiple papers inside each of those rolls.
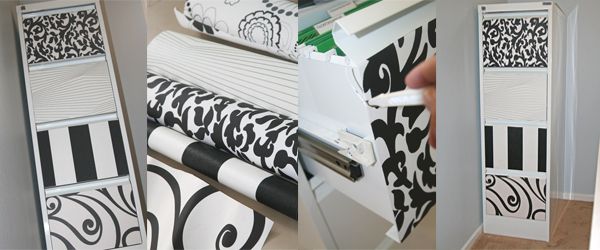
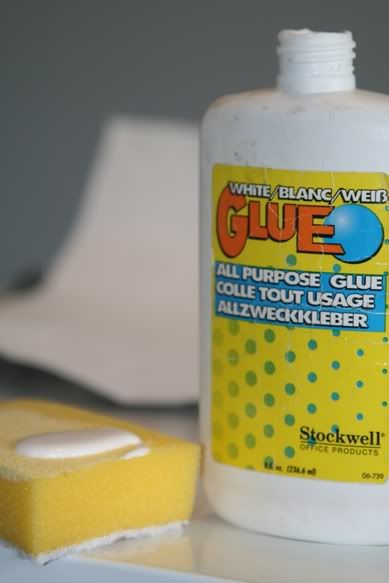
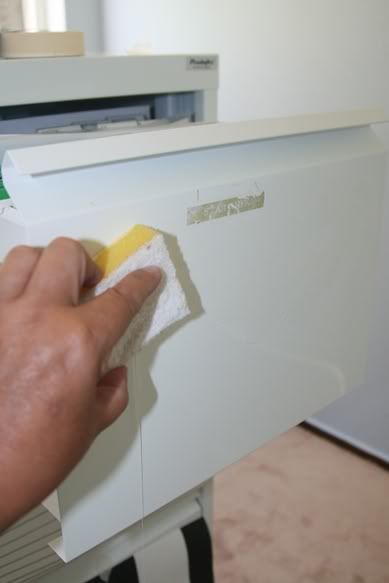
After a quick cleaning of the lower part of the cabinet with a Mr. Clean magic eraser (which of course I have to bring back with me each time I visit the U.S. since we don't have them here in Sweden yet), I cut the wallpaper to the size of the cabinet drawer fronts. Then it was time to arrange the papers by using tape and switching them around until I was happy. Next came a kitchen sponge to smear on some good ol' fashioned glue (like Elmer's), straight onto the cabinet.
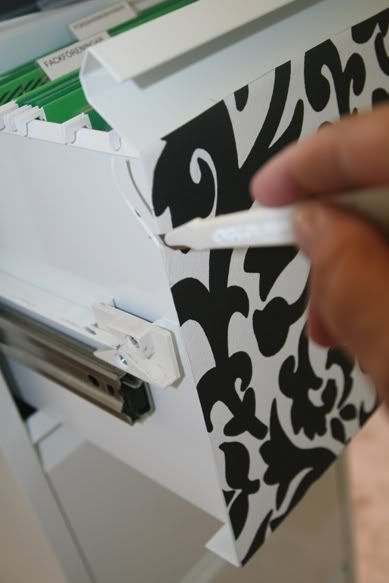
Up went the wallpaper piece, and out came an exacto knife to slice off those extra bits hanging over the edges.
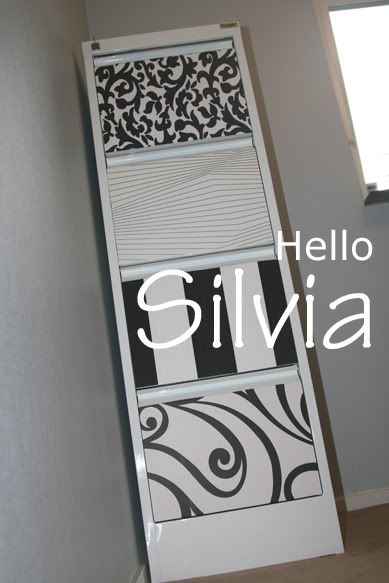
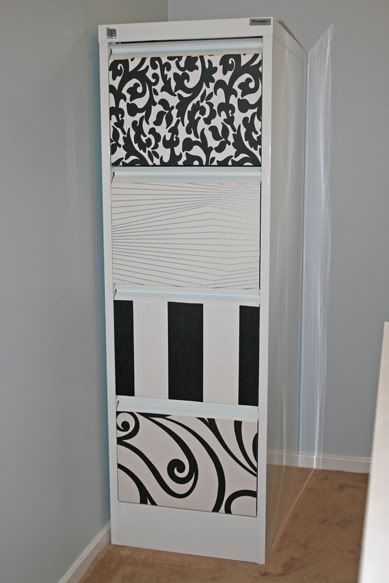
Ta-dah! Here she is - all dressed up and nowhere to go. But she does has a fresh new space to stand in.
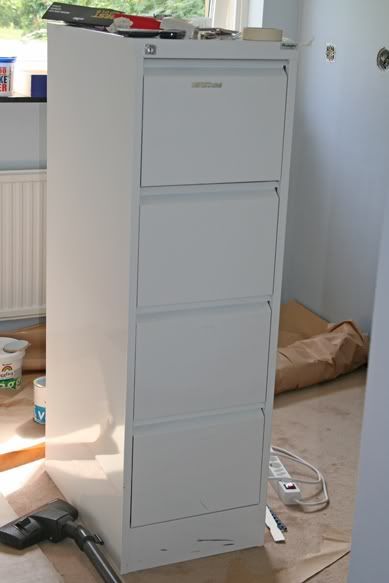
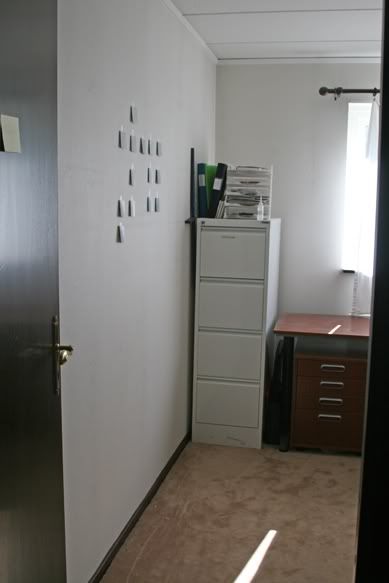
Here's a look at the before.
And after.
It was a super simple upcycle project - and with freebie wallpaper samples that I keep around, it didn't cost me a penny! Just an hour of time.
Stick around for Part II of the Semi-Extreme Home Office Makeover.
Until next time...
Mike
Link parties: The DIY Showoff, Making the World Cuter,


I love this! It looks so much better....I wish I had a office...
ReplyDeleteI love this Mike!! all those papers are so cool. You need to lobby to get those Mr. Clean Magic Eraser's over there lol...i love those things too!
ReplyDeleteOh my gosh--I do the same thing! I start a big project and then in one of the 'waiting' periods (like paint drying) I will start another. I like to think of it as a sign of creative genius. :)
ReplyDeleteYour file cabinet turned out beautiful, I love how you were able to pull from your supplies.
Love your new filing cabinet! I've never seen such a pretty one before!
ReplyDeleteThanks for linking to a Round Tuit!
Hope you have a great week!
Jill @ Creating my way to Success
http://www.jembellish.blogspot.com/
Awesome! I'm loving the fact that you could tell the kids, "Get the --- from the striped drawer." Easy!
ReplyDeleteI LOVE this project!!! I have a few wallpaper samples... This gives me another idea to add to my collection of things to do with them. Thanks :)
ReplyDeleteWow! Your project will surely give creative ideas to those who are also desiring to enhance their office spaces.
ReplyDelete