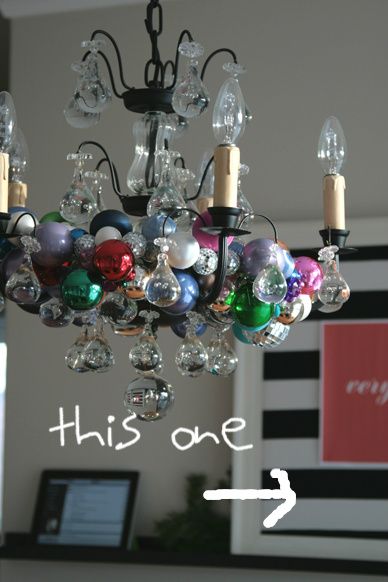
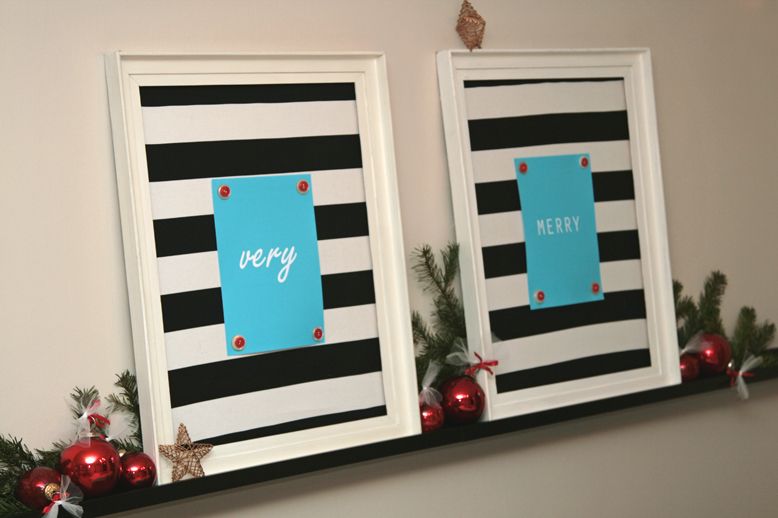
Yesterday when I posted a quick project with leftover christmas balls, I promised to show this ridiculously quick and easy decoration that was in the background. Made them in about 30 minutes.
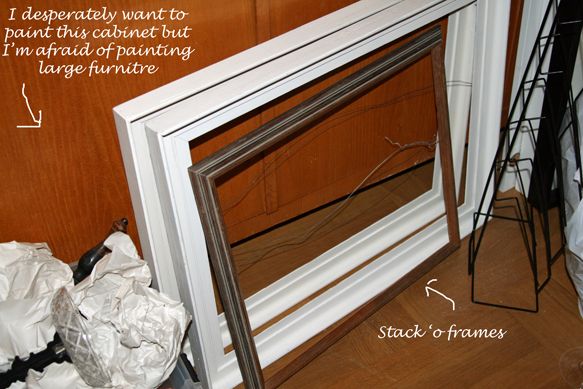
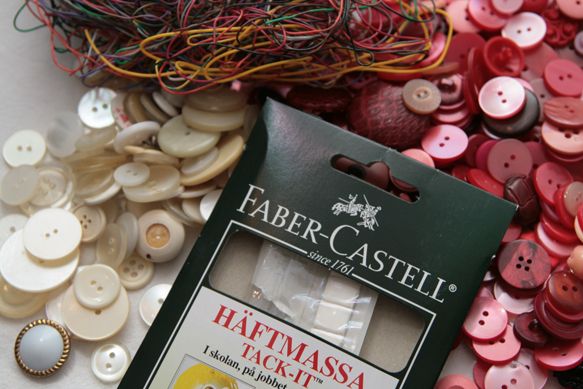
What you need: a couple of old thrifted frames from your pile 'o frames, your trusty dusty staple gun, some fabric that makes your heart sing, a printer and some kind of super easy photo software, buttons, and some blue tack (which is actually white, in this case).
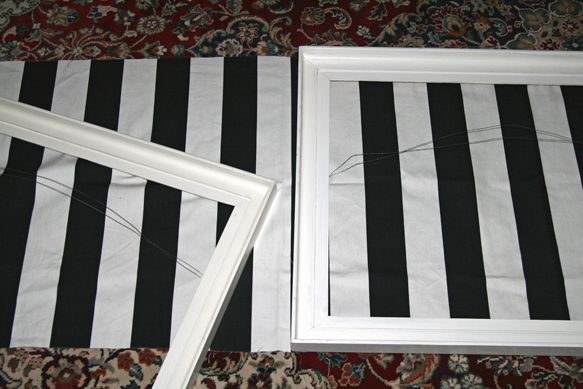
I had this sample of IKEA fabric laying around for about a year now...thought I was going to use it for our oversized ottoman we are making...but it was too bold for that space. Then I thought it might go for a valance curtain on a window. Nope. Not that either. But I LOVE accents of black and white, so out it came to find its place as the backdrop of these simple holiday decorations.
What's next? Staple. You can cut the material to 'about' the size, and just staple it to the back of the frame. Pull and stretch as you do.
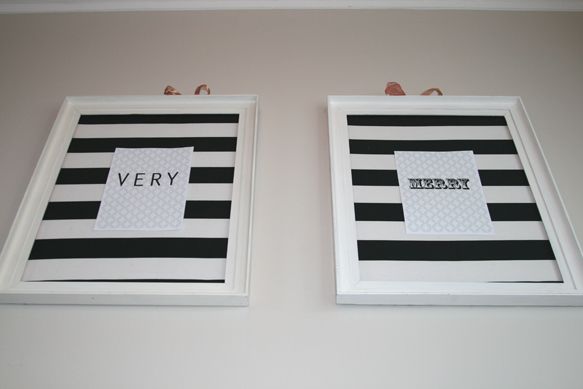
This was the first round that went up last minute (literally) before this year's annual ornament exchange with girlfriends - handmade of course. I used one of the free sage green backgrounds that I know and trust from Aimee at Sprik Space. "Very Merry". That's my message this year.
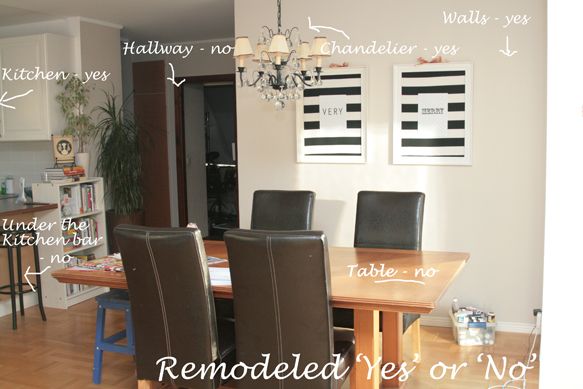
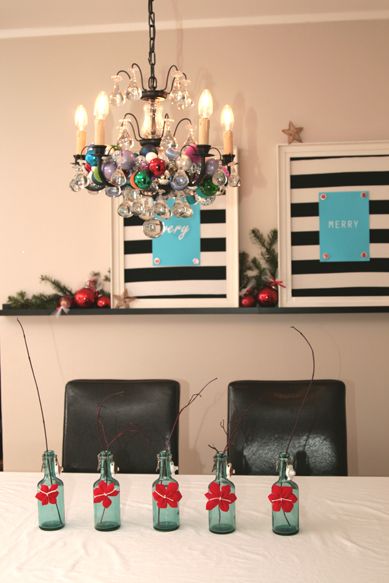
They looked a bit lonely on that wall behind our table. Of course, with bits and parts of the house still not remodeled, the final look doesn't come together quite yet. You can see in the pic below what's done and what's still in progress.
Now, I liked the pale sage green, but it wasn't making me look twice. So I changed to a muted red background, like you saw in the photo of my last-minute chandelier holiday dress yesterday.
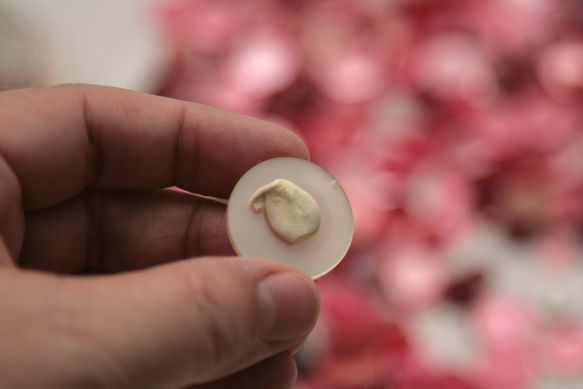
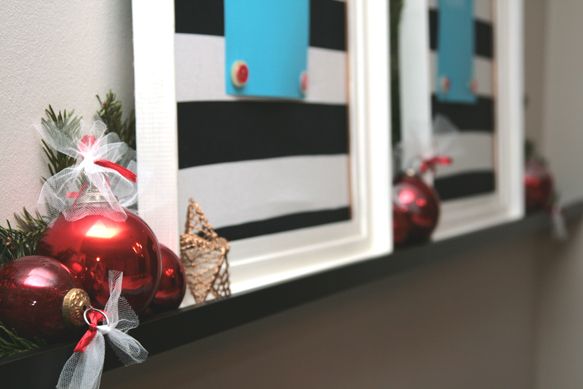
You can also see that my hubby put up a couple of IKEA picture rails for me (so that time isn't included in the 30 minutes it took me to do these quick frames). Next grab some buttons and blue tack. I originally pulled out some colored wire from my craft stash, but it didn't find a home here.
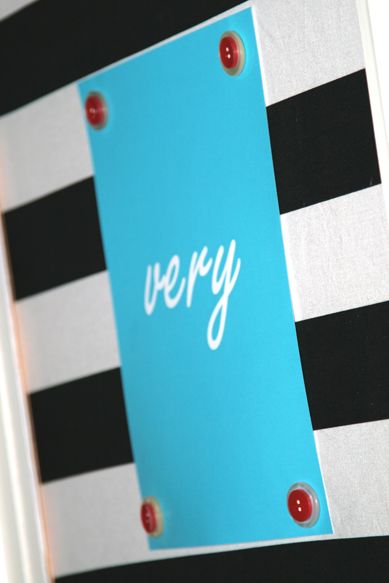
No, I didn't even bother to glue the buttons because I'll just take them apart and use them somewhere else another time. This isn't a permanent installment, so the solutions don't need to be permanent.
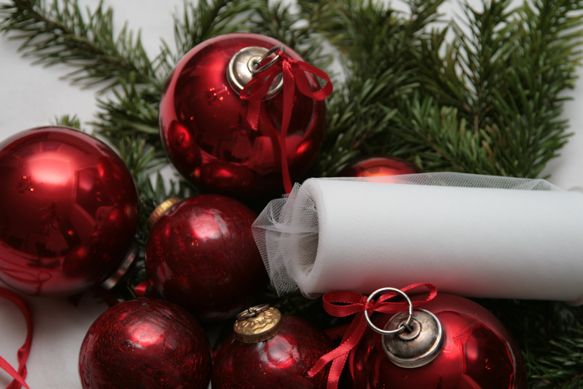
I grabbed the last of my extra christmas balls - the ones that were too heavy to put on the chandelier dress - and gave them a home on the picture ledge beside the frames.
A couple of times passing by made me realize I wasn't digging the muted red either. So one last trip to the computer scored me this fun turquoise blue printout. I simply chose a solid colored background in Photoshop, and found 2 different fonts that I liked for the 'very' and 'merry'. They are held to the material background with...you guessed it...blue tack. And on went the buttons with blue tack. Easy, quick, and no mess.
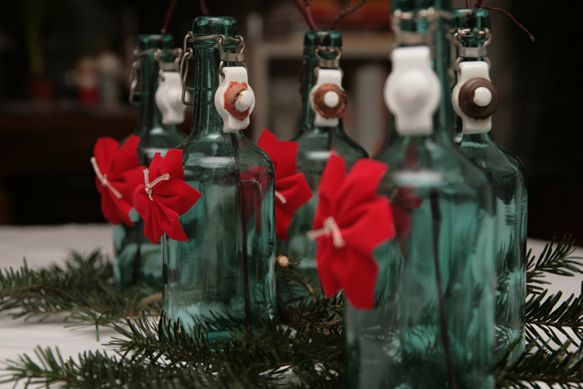
I put my vintage bottles with the 1-minute DIY poinsettias on the table. But they looked a bit lonely.
So I grabbed a bit of greenery from the bottom of our christmas tree and now they sit nice and nestled on the table. They might even get the surprise of some simple white flowers to hold.
When I pull back to get a photo of the entire area, it isn't quite the 'complete' picture that I want because of the things that still need remodeled or renovated. But, it's an improvement over what I started with and gives me a nice surprise punch of color for the holiday.
I've got one more DIY decoration that I'm determined to get up before Christmas day - so perhaps I'll have one more of these last-minute decoration posts. And because we don't really have to take down the Christmas tree until 20 days after Christmas in Sweden (a tradition called julgransplundring where friends and family dance and sing around the tree before taking it down), I'll have plenty of time to enjoy my last-minute holiday decorations. I'm not sure how many Swedes still adhere to that old tradition...but you can be sure we'll be holding out the full 20 days at my house this year.
Until next time...
Mike
Stumble this post



Mike! I like! Good one! (or two. tee hee.)
ReplyDeletexo jeanne.
bees knees bungalow
Nice, I liked the black and white just as well, but the blue does stand out. Tell me about the clear tear-drop-thingys on your chandelier...did you just buy those (and where??) or are they something you had? I like them!
ReplyDeleteLove the overall effect of such simple crafts!
ReplyDeleteHere's wishing you and yours a very Merry Christmas and a very Happy New year!
Love the idea of dancing around the tree before taking it down!!
Jill @ Creating my way to Success
http://www.jembellish.blogspot.com/
Such simple solutions - I love the contrast of the blue with the red christmas balls - unexpected. Thanks for the inspiration
ReplyDeleteOhh! The picture shelf looks great! And I like the blue a lot better too. Very nice! :)
ReplyDeleteVery festive - well done!
ReplyDelete