Saturday, December 17, 2011

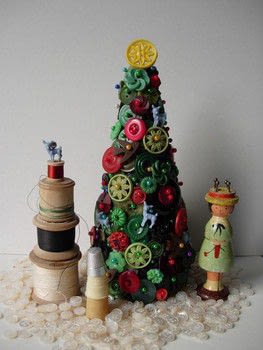
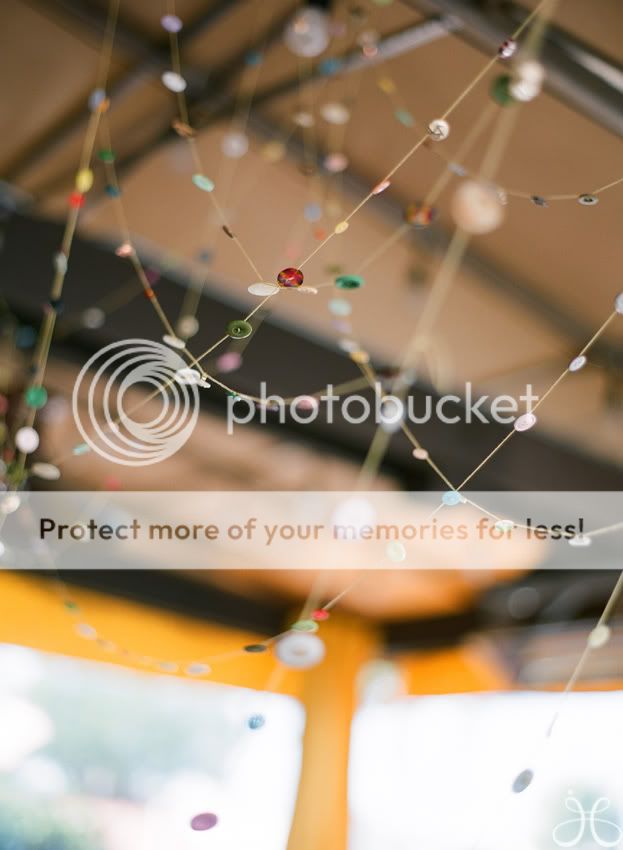
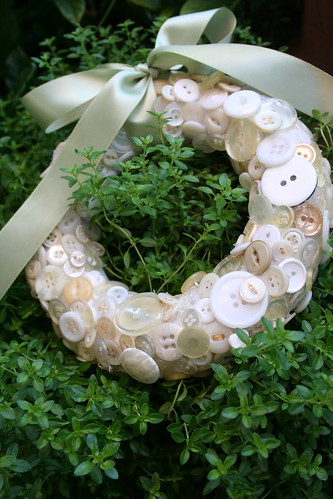
21 Button DIYs for Christmas

I got a call today from my friend L - she was very excited on the other end of the phone, even catching her breath. "I just had to call you because I knew you'd understand!" I had no idea where this call was going to lead. "I just left the thrift store near me and I was looking through the buttons to make some little button wreaths for the kid's teachers." Ahh...thrift store...buttons. "The owner asked if I wanted to go in back and look at the buttons they had back there. They were color sorted and in jars! We must go back and get them!"  Yes, we must! 

I have a good collection of buttons...but sometimes I'm afraid to use them. What if I can't find more? What if the thrift store prices for buttons keep going up? What if I can't find any in bulk anymore? What if? What if?

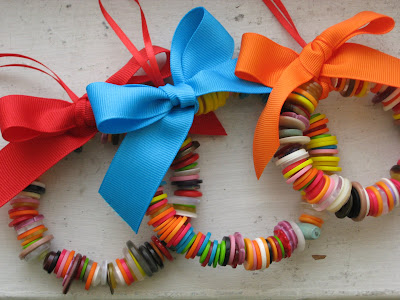
Well, no more what if. I've got a fresh supply waiting...which means I'm ready to use some buttons! I've scoured the internet and found my favorite 21 projects to use as inspiration. Ready...set...go!


Home Sweet Homemade

Cut Out and Keep

Carter & Cook

Romantic Home on Flickr


Love You Big


One Lucky Day


Blissfully Domestic


Leslie Ashe


Bo Bunny
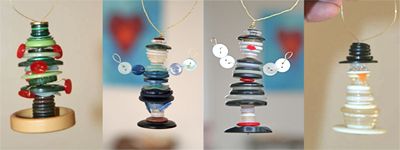

Blue Velvet Chair


UK Lass in US
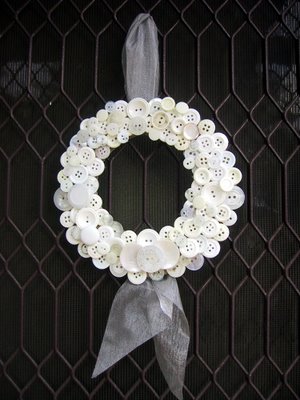

The Shopping Sherpa


Crazy for Crafts


Craftapalooza
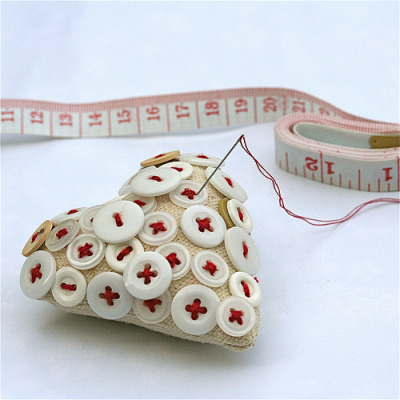

Catty Came Home


Odessa May Society
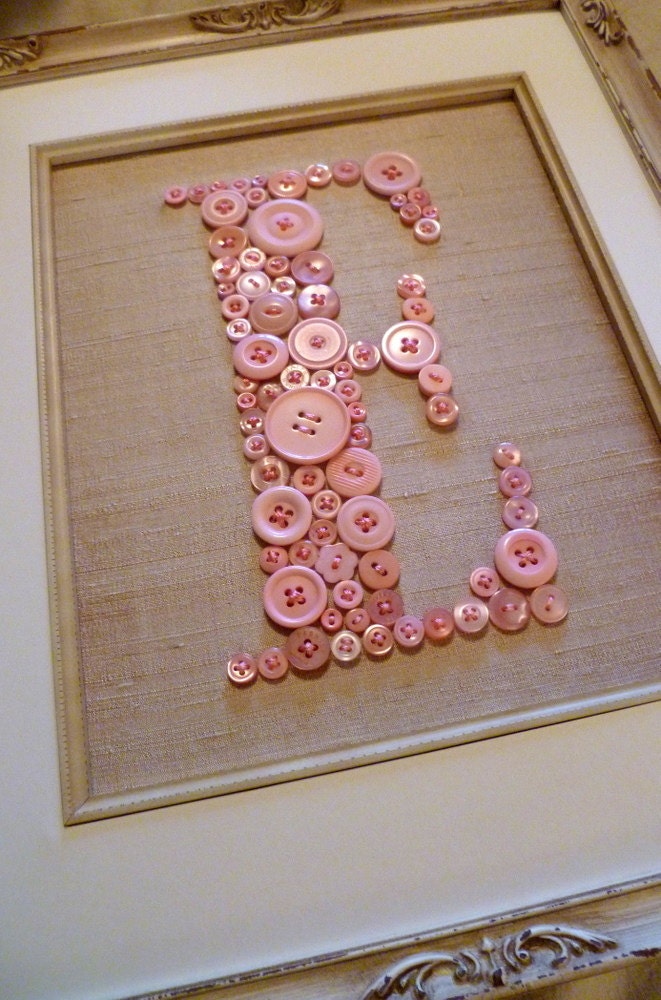

Letter Perfect Designs


Urban Paisley

Plum Pudding


Country Living


Freckled Nest


Mandahattan on Flickr


Any opinions on what I should make?

Grab more inspiration by following the Blue Velvet Chair 'Buttons' board on Pinterest - the motherload of button DIY creations.


or


Until next time...
Mike


Stumble this post


Party!

Friday, December 16, 2011

12 Days of Christmas

This post originally posted at Two Girls Being Crafty for the 12 Days of Christmas blog party.

When I'm decorating for the holidays I have two things in mind...how can I do it on the cheap and how can I reuse what I already have. Today I'd like to share my table 'centerpiece' that is a bit thrift, a bit recycle, and a bit creating something new.


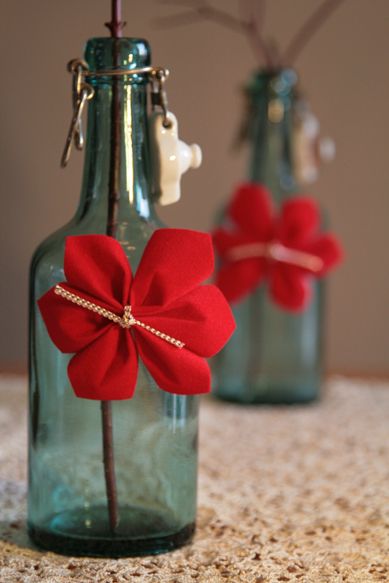
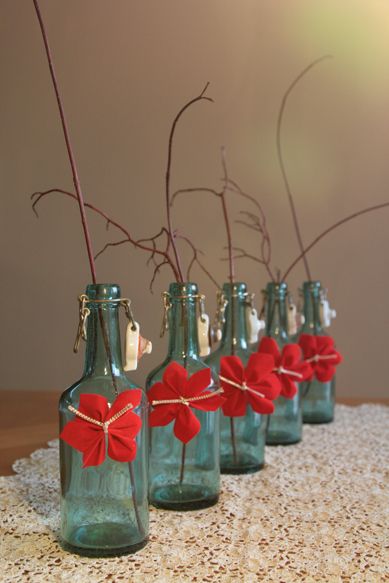
Back in May, I picked up some antique turquoise bottles from the early 1900s during a thrift store run. They became the perfectly understated centerpiece for our Thanksgiving dinner with friends when I added some simple red-colored twigs that a neighbor had trimmed from their shrub. So now we have the thrift bit.


The recycle begins when I decide to use these same bottles and twigs for my Christmas table decor. But what could I do to add some holiday cheer?  Create a little something new to add to the bottles.


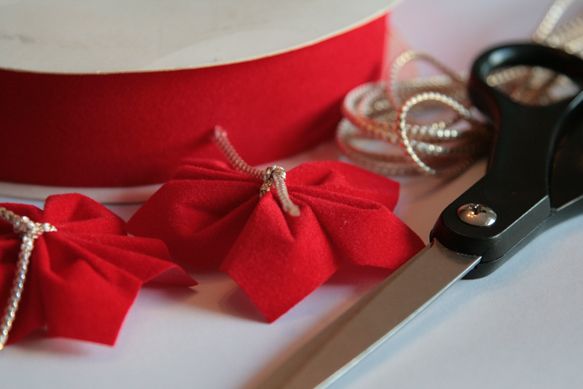
Now I'd like to share how to DIY your own little poinsettias to add 'instant holiday cheer' to something you already have that can be recycled as Christmas decor. I used an old roll of red velvet ribbon (this stuff seems to last forever!), some gold braided ribbon, and scissors. Simple.


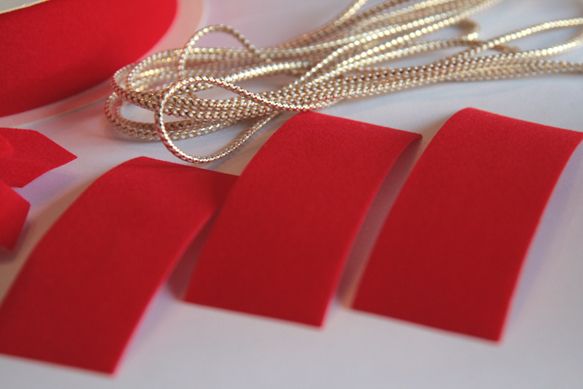
Cut three strips from the red velvet ribbon. Mine were about 3.5 - 4 inches long (about 10 cm).


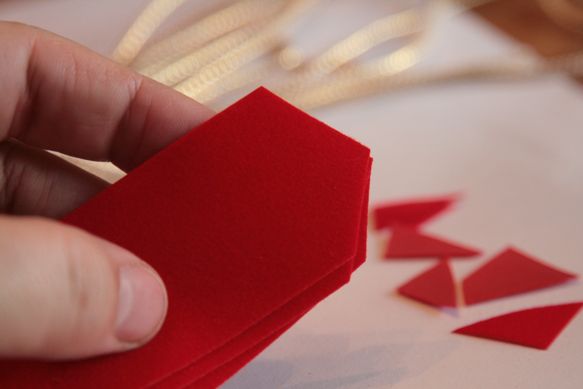
Cut the tips of the ribbon as shown below.


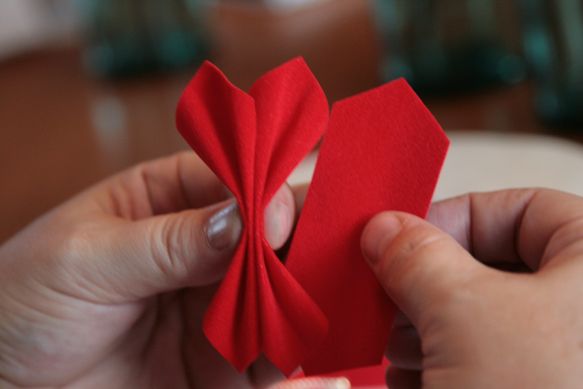
Here's where I wish I could show you via video (maybe I can make one quick and post later at Blue Velvet Chair). Press in the center of the ribbon with your thumb,while you use your pointer fingers to fold down the outside edges. I hope the photo below shows this well for you. So the center and the two outer edges are all folded downwards.


Because you want to put three of these together, you'll have to hold the first two between your thumb and pointer finger on one hand while you use the other hand just beside to create the next folds.


There. All three folded and held in a pinch. This process (folding the three pieces of ribbon) literally takes a total of 1 minute max.


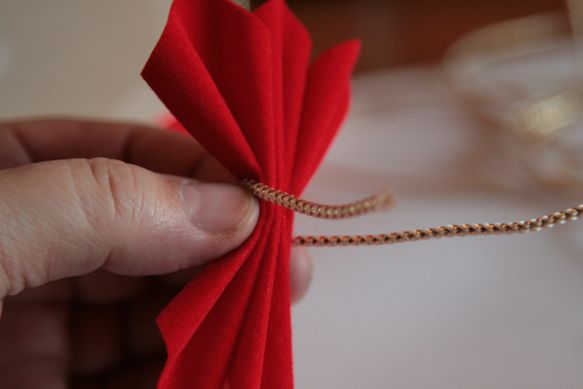
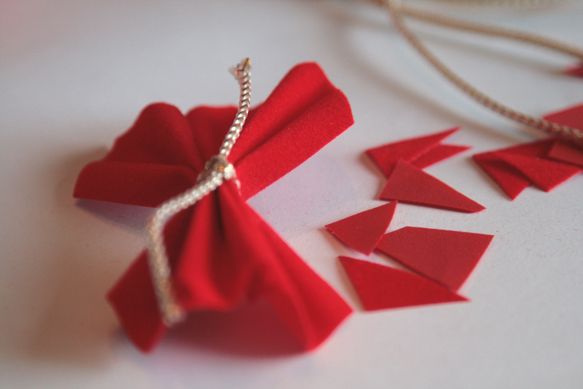
Take a (pre) cut piece of the braided gold ribbon - or use whatever you have around - and tie around all three 'petals'.


It will look like this once you get it tied and knotted.


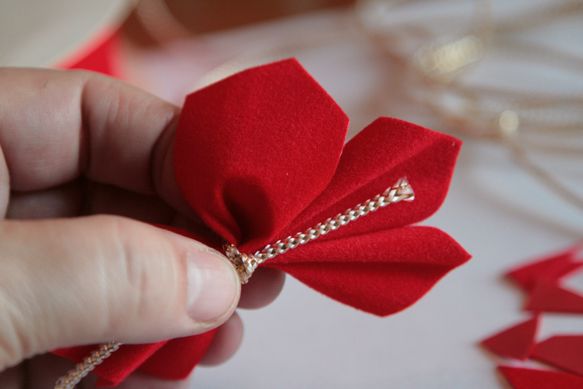
And now time to create the poinsettia! Simply take your pointer finger and push from the bottom near the knot in order to 'spread' each petal. This will create the roundness of the flower due to the stiffness of the red velvet ribbon.


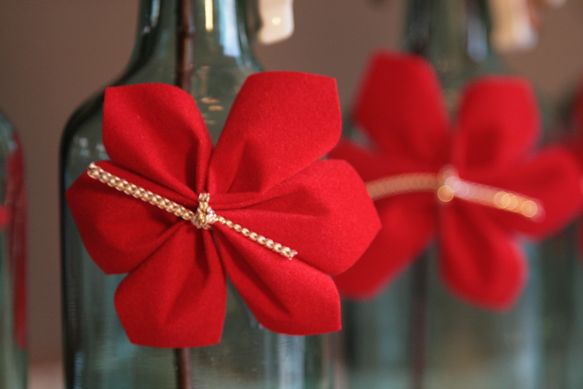
Ta dah!  Your own little DIY poinsettia flower. I promise these little pops of holiday cheer can be added to almost anything and you'll get some fun results.


I just love the contrast of them against my old turquoise thrift bottles. This color combo works so well because they are contrasting colors on the color wheel.


Happy holiday cheer.


Happy happy.


Happy holidays to you all.


There you have it. Mere minutes to create your own little recycled-thrifted-creating something new holiday cheer.  My dream project is to create a big beautiful wreath full of these little beauties. My sister made one back in the 90s, and I've been wanting to create one ever since. 15 years should be enough time for the idea to simmer...don't you think?

If you'd like to see some more of my hybrid style holiday decor, you are welcome to visit Blue Velvet Chair. We'd love to see you there!

Happy Holidays everyone!

Michael


Stumble this post


Party!
Mad in Crafts

Feliz Navidad from Playing for Change

Holiday wishes from one of my favorite organizations - Playing for Change. If I'm not mistaken, Grandpa Elliott from New Orleans (America's deep south) is singing Feliz 'M'avidad - but he rocks it anyway!


There are so many ways to support this fantastic initiative - so I hope you'll hop over to learn more about them.

CONNECTING THE WORLD THROUGH MUSIC


Until next time...
Mike

Thursday, December 15, 2011

A Day's Worth of DIY Inspiration - Christmas

Just another day's worth of DIY inspiration - this time for Christmas! It's not too late to whip up this goodness.


Real Simple


Can't Stop Making Things


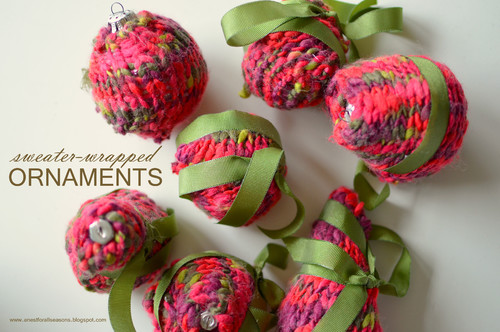
sweater wrapped ornaments


Upcycle and Repursing Ideas for Christmas  holiday decorations
Amy Renea


cottonball snow
David Galbraith


Bugs and Fishes


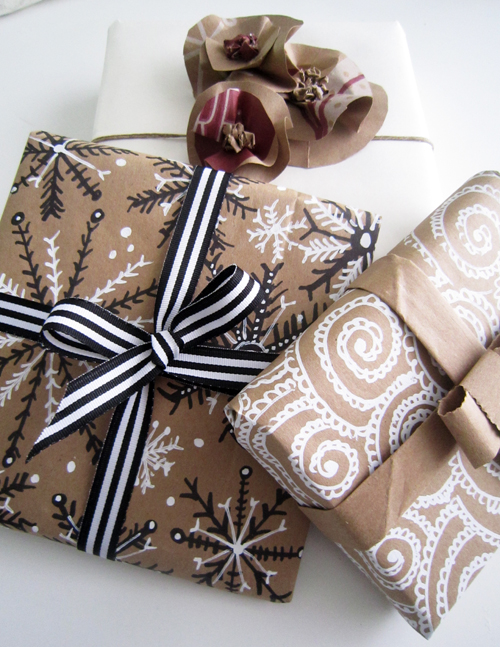
recycled paper bag gift wrapping with doodles
Alisa Burke

Until next time...
Michael


Stumble this post

Sunday, December 11, 2011

Thrifted - Recycled - and Something New: Holiday Decor

It was fun putting together a DIY holiday project as part of the 12 Days of Christmas event hosted by Two Girls Being Crafty. Hop on over to their place to see the full post of how I recycled my thrifted Thanksgiving centerpiece by adding a little something new.

I went from this...


...to this...


...by adding a few of these.


Find out how to make your own little red velvet poinsettia flowers - they add instant happy cheer to everything you put them on. And they only take minutes to make!  The full 'how to make your own poinsettias' tutorial is posted now at Two Girls Being Crafty. Pop over and check it out.

Until next time...
Michael
Related Post for bluevelvetchair.blogspot.com