My procrastination = a wonderful collection of July 4 inspiration for you!
Truth be told...I am a expert procrastinator. I'm also the mother of two young kids that seem to leave a line of destruction behind them wherever they go, leaving me to clean up...so I sometimes cut myself some slack. But seeing so many July 4th projects out in cyberland right now has me absolutely chomping at the bit!
My procrastinating ways are the reason my house stands bare today of any 4th of July spirit (other than in my head). So I've gone hunting across the web these past couple of days to find the most inspiring 4th of July decorations and projects - and I have the most fabulous collection of patriotic eye candy to share with you! There is definitely something in this collection that I can accomplish in these next couple of days. Perhaps there is something for you as well?
Let's start with some freebie printables. I know for sure some of these will be on display in my home this year!
The sisters at
The Letter 4 give us this super cute printable that can be made into a Tshirt for your little one. Or why not print it out and give a card to your SO?
Landee See, Landee Do gives us this clean design. It makes me
happy just looking at it.
Bits of Everything - another group of sisters - are sharing the joy of this holiday with their super cute printable below. I really like the
typography they used on this one.
Every Creative Endeavor says it all with their
free printable.
Not 1...but
11 different color schemes come with this 4th of July printable from
Today's Fabulous Finds.
They know how to throw a July 4 party at
Piggy Bank Parties and they are sharing printables with us.
This isn't a printable-ready project, but the letters look simple enough to print, with a flourish of patriotic-colored paper fans for good measure. P
rojects by Melissa Neufeld at Country Living.
Martha Stewart's team gives it to us nice and clean - effective!
Fabulous porch bunting and poms are from
Centsational Girl - does it get better than this?
All You brings us another patriotic porch full of low-cost ideas. Click through the slideshow to see up-close shots. Isn't that red fabric that runs through the porch rails so effective?
Love this new take on bunting from
Second Chances by Susan - very creative!
Anyone that can make something beautiful from scrap cans has a special place in my heart. These tin can windsocks from
Random Thoughts of a Supermom are just
too cute for words.
Martha Stewart uses oatmeal containers for these fun windsocks.
The Scrap Shoppe mixes burlap, denim, and one of my favorites - buttons - to make this wreath of patriotic loveliness.
Craft Jr gives us a fun and colorful rag wreath that even the kids can help with.
More July 4 colors from
All You with this cocktail umbrella wreath.
You've probably seen this stunning felt wreath from
Nap Time Crafts - time intensive but oh-so-worth-it!
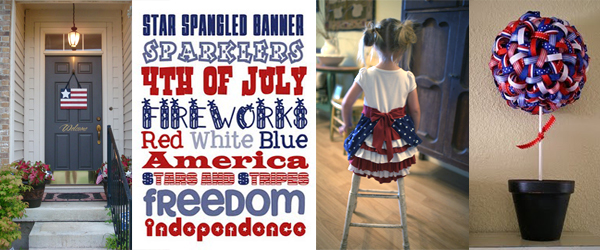
Thrifty Decor Chick gives us a welcoming flag on their door that is super effective. Love the door, too!
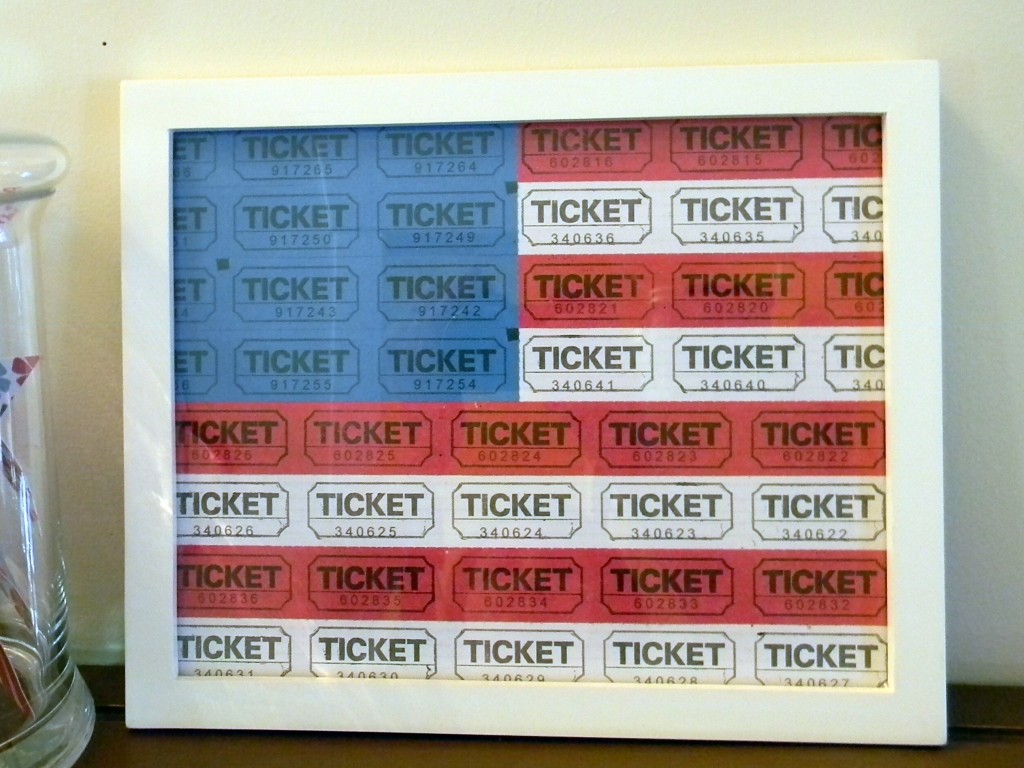
Organize Your Stuff Now offers this fabulous ticket flag...love the idea!
The 36th Avenue takes an unused roll-top part of a desk and turns it into one of the
best flags I've seen. Check out the step-by-step evolution of this keepsake.
Jess's Journey Through Life, Love and Motherhood gives us this flag made this from old wooden pallets as a Father's Day gift, but I think it works perfectly for the 4th...don't you?
I have a weakness for repurposed things - so I just can't pass on showing you this bottlecap flag that was made as part of the
Int'l Plastic Quilt Project.
One little hand and one little foot are on the list of supplies for this flag from
Serendipity. Super cute!
Patriotic pizza? Try this fruit pizza from
Taste of Home.
Now I've got more food on the mind with
Whimsical Creations marshmallow pops - decked out in the colors!
Hungry yet? I like to think these strawberries at
AllRecipies.com are 100% healthy. I know they are
100% fun!
This star table runner is actually for sale and featured at
Unravel Shopping Tips & Tricks, but I know that one of you brilliant DIYers out there can get this done yourself!
All You has used mailing tubes to create these firecrackers...but why not try them with paper towel and toilet paper rolls?
Martha's back with super simple cans that can be used for Independence Day.
A ribbon runs through this wonderfully
whimsical patriotic topiary at
A Diamond in the Stuff.
Finally a way to make the simple carnation look like a million bucks! Just one more
blue carnation poof and you've got your centerpiece covered! There's a short how-to at
Country Living.
Uh...Yum! Rice Krispie treat popsicles...
MUST TRY this at home! Thanks
Twig & Thistle.
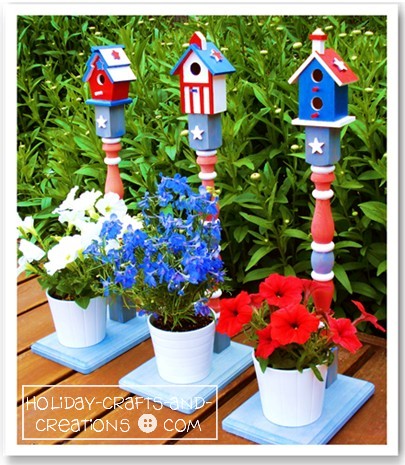
If you have a little time on your hands in the next couple of days...perhap you can try one of these fun and
funky birdhouses from
Holiday Crafts and Creations.
This project gets my vote for the
most creative with the smallest cost. It's flour...sifted on the lawn with a star stencil that you can make yourself. Brilliant fun from
Pink and Green Mama.
Wouldn't it be fun for your little ones to run around on that star-covered lawn (above) in their own stars and stripes Tshirts? Try these from
Make It and Love It.
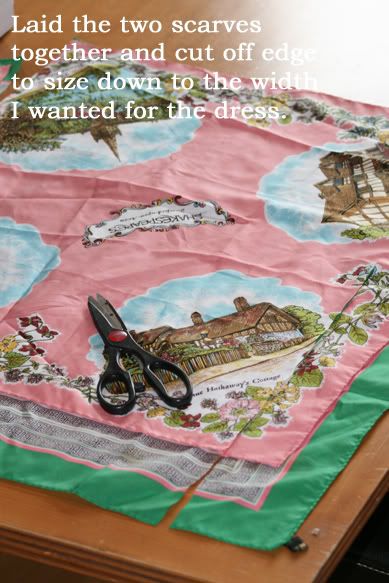
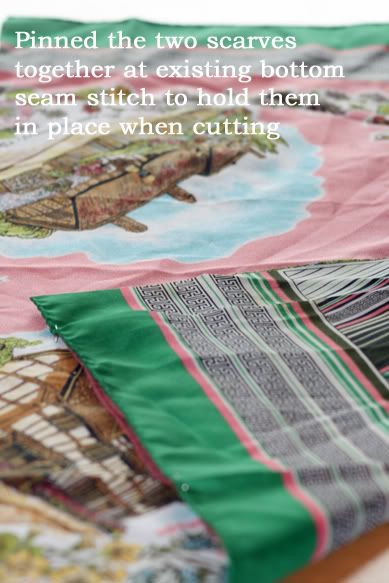
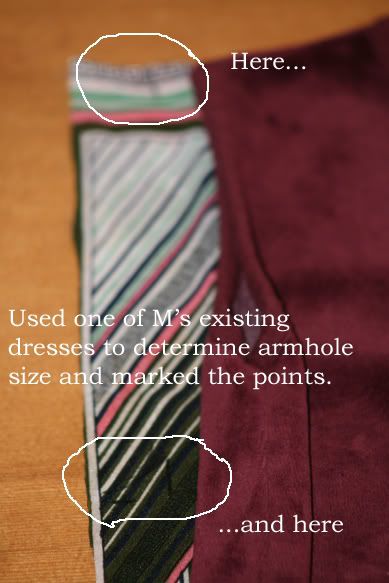
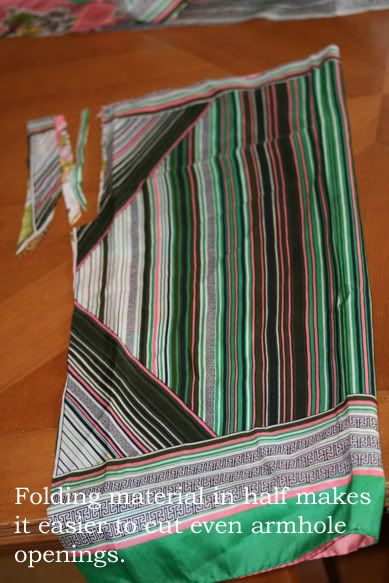
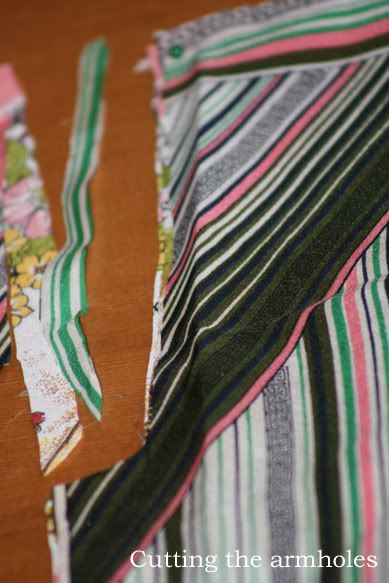
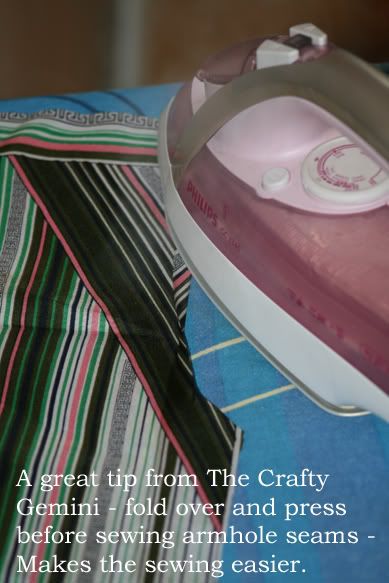
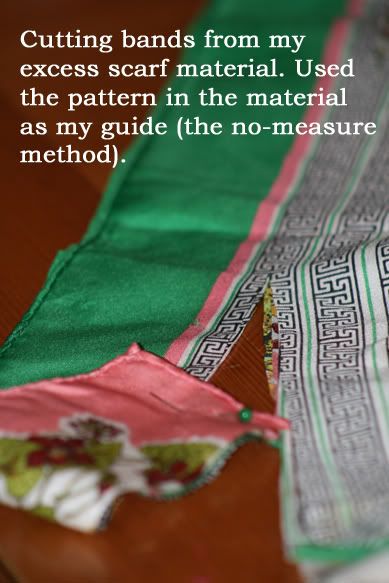
It's from Urban Outfitters....but I see a
repurposed dress opportunity here! Now I just have to find three shirts in my closet with the red-white-blue motifs.
I have serious
BLUST (my new word for 'blog lust') for this dress...LOVE LOVE LOVE! And
Heart Break Kids says she can't sew!
Whew! What a collection.
As an American living in Sweden, opportunities to run to any store and pick up 4th of July decorations are limited (OK, they don't exist at all!) - so your talents across blogland have brought me a shower of inspiration for some red-white-blue DIY activities this week as I teach my mixed-culture kids about Independence Day. A HUGE thanks to you all! God bless America...Land that I love!
Want to see this splash of inspiration on one page? Check out my
4th of July Pinterest board.
Until next time...
Michael
p.s. If you enjoyed this post, I hope you'll become a follower of my blog and a fan on FB.


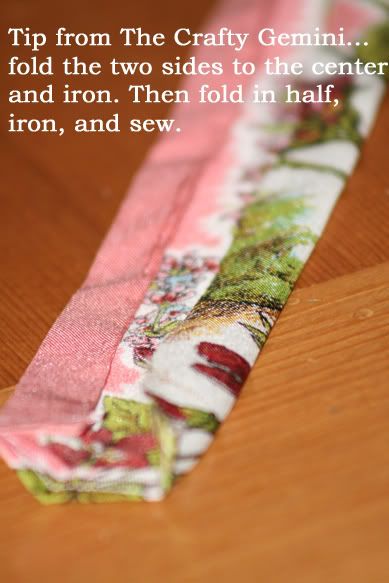
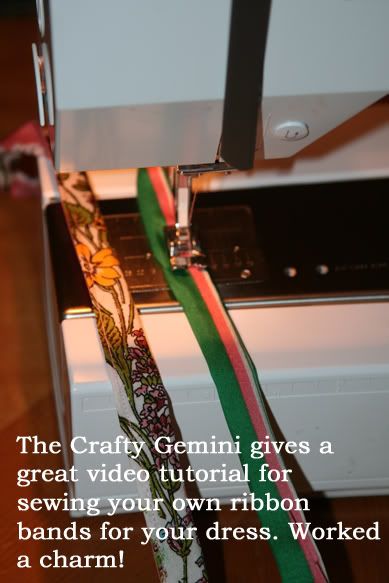
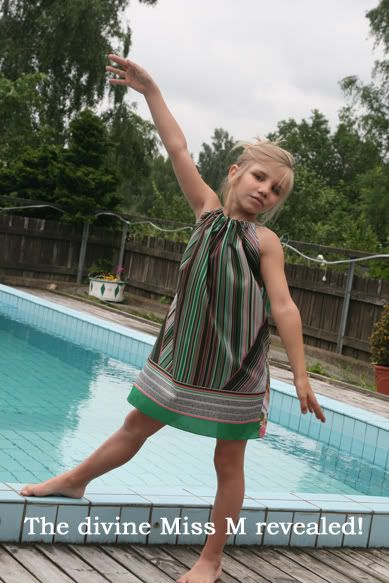
.JPG)