Showing posts with label buttons. Show all posts

Tuesday, January 3, 2012

What's That ?!

It's 2012 and time for a new year of "What's That?!".

What is "What's That?!" you ask? It's a series of posts that showcase unbelievable creations that make you take a second look and ask yourself, "What's That?!"

Here we go. Can you guess what these art pieces are made from?


How about if we take a closer look.


That's right...buttons! Nevermind the obvious question of where Augusto Esquivel gets all of his buttons. Just look at the thousands of strings it must take for some of his art pieces.


Now that you've seen the work up close, imagine what it took to create these pieces.


And how in the world does he transport them? 

I'm just at a loss of words when I see creations like this. So I'll let Augusto's words speak for themselves.

"I realize how insignificant and small a simple sewing button can be as it lays in my grandmother’s sewing box, but at the same time how unique and precious it can become as part of a work of art. Like an atom in a molecule, each button serves and shapes the whole. I hold the button to my ear and it whispers to me, “I want to be…..”


Until next time...
Mike


Stumble this post

Saturday, December 17, 2011

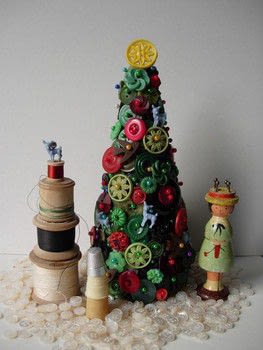
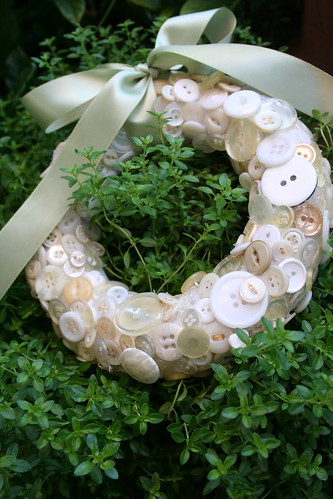
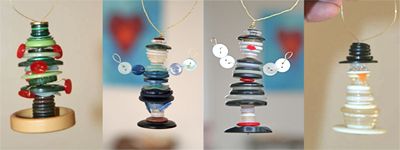
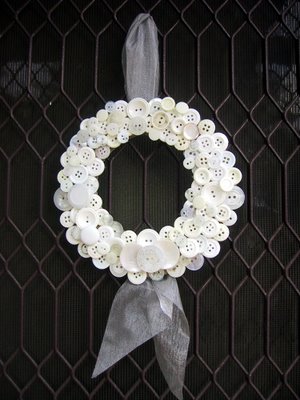
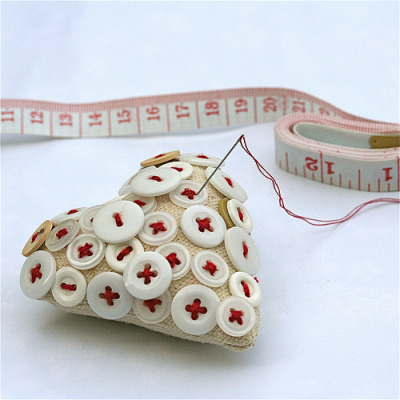
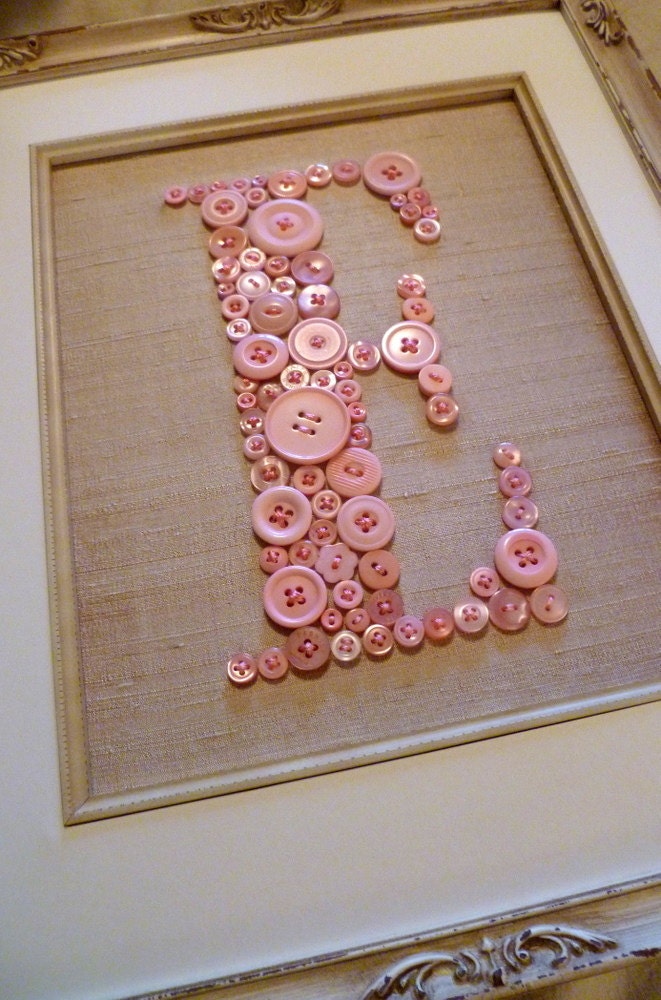
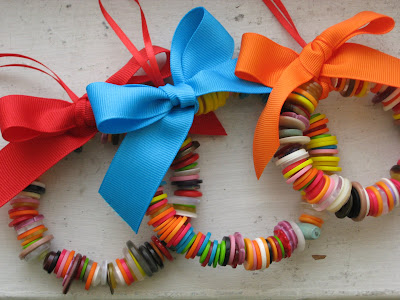
21 Button DIYs for Christmas

I got a call today from my friend L - she was very excited on the other end of the phone, even catching her breath. "I just had to call you because I knew you'd understand!" I had no idea where this call was going to lead. "I just left the thrift store near me and I was looking through the buttons to make some little button wreaths for the kid's teachers." Ahh...thrift store...buttons. "The owner asked if I wanted to go in back and look at the buttons they had back there. They were color sorted and in jars! We must go back and get them!"  Yes, we must! 

I have a good collection of buttons...but sometimes I'm afraid to use them. What if I can't find more? What if the thrift store prices for buttons keep going up? What if I can't find any in bulk anymore? What if? What if?

Well, no more what if. I've got a fresh supply waiting...which means I'm ready to use some buttons! I've scoured the internet and found my favorite 21 projects to use as inspiration. Ready...set...go!


Home Sweet Homemade


Cut Out and Keep


Carter & Cook


Romantic Home on Flickr


Love You Big


One Lucky Day


Blissfully Domestic


Leslie Ashe


Bo Bunny


Blue Velvet Chair


UK Lass in US


The Shopping Sherpa


Crazy for Crafts


Craftapalooza


Catty Came Home


Odessa May Society


Letter Perfect Designs


Urban Paisley


Plum Pudding


Country Living


Freckled Nest


Mandahattan on Flickr


Any opinions on what I should make?

Grab more inspiration by following the Blue Velvet Chair 'Buttons' board on Pinterest - the motherload of button DIY creations.


or


Until next time...
Mike


Stumble this post


Party!

Sunday, November 27, 2011

Make It Merry

14 Days and 14 DIY Ideas with Make It Merry is off and running! In fact...it's day three, so don't miss out on the first two posts:

Day 1:  Kassi at Truly Lovely
Day 2:  Vanessa at Nifty Thrifty Things

Day 3:
And today, Diane (our brain behind Make It Merry) shares her adorable handcrafted tree toppers and ornaments.


Don't miss a peek at her 'home sweet homemade' Christmas tree full of goodness!

I'll be joining all of the fabulous creatives in this event with my post on the 30th under the 'Holiday at Home' theme. I spent the day putting together large branches...so that's your first hint at what's happening here at Blue Velvet Chair.

Until next time...
Mike

Wednesday, August 24, 2011

Semi-Extreme Home (Uh, Office) Makeover - Part II


Time for another episode of the Semi-Extreme Home (Uh, Office) Makeover.

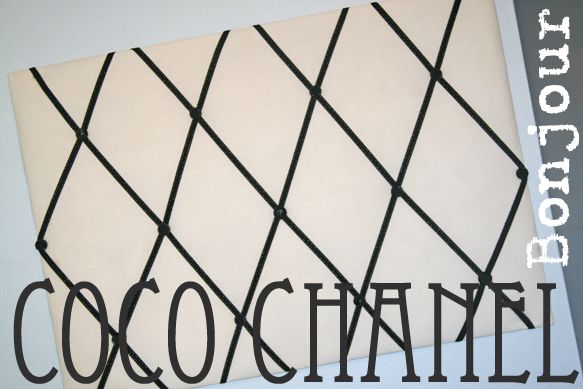
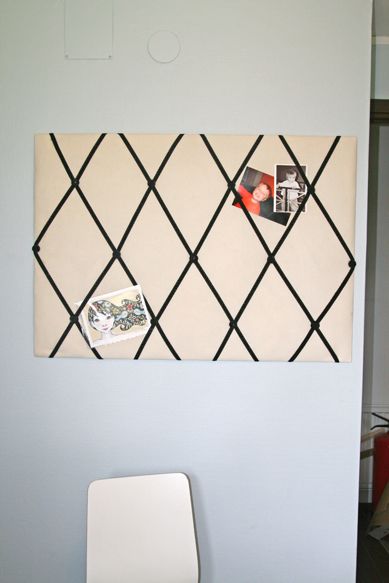
So, while I'm waiting for inspiration to come down and strike me over the head - giving me just the right idea for a window treatment - I finally brought out the message board that I made over 4 years ago (not kidding) alongside my mom who was over here for a vacay visit. And although I was absolutely in love with this message board and she turned out exactly how I wanted, she never found a wall to call home - but survived being moved around umpteen times from storage space to storage space.

Well, now she has a home and is ready to strut her stuff.


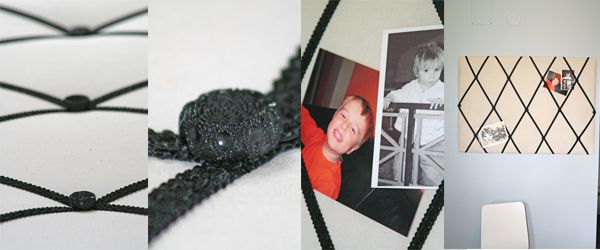
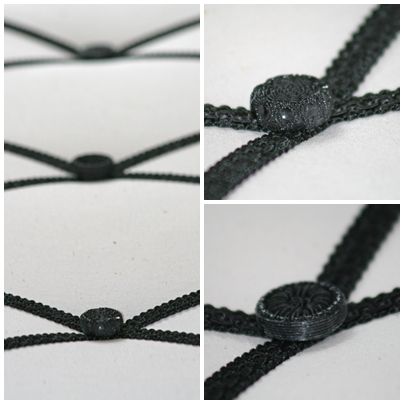
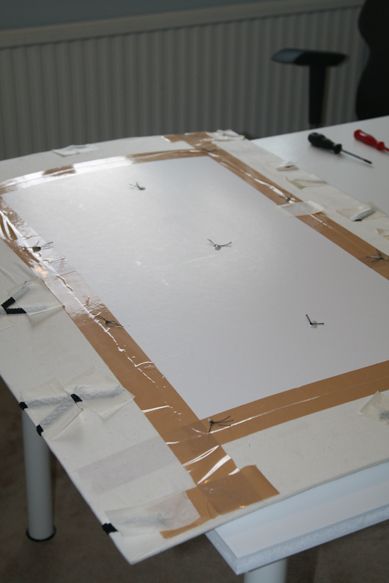
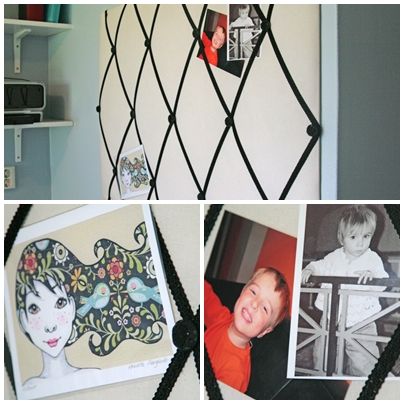
Just like the legendary Coco Chanel, she has a lot of skeletons in her closet. For instance, just take one look at her backside and you'll see she's not as fancy as she appears. In fact, she's made from a piece cardboard, batting, some scrap muslin material, and packing tape. However, and just like the original Coco, her accessories are impeccable with vintage ribbon (actually from Paris) and mismatched black vintage buttons. 


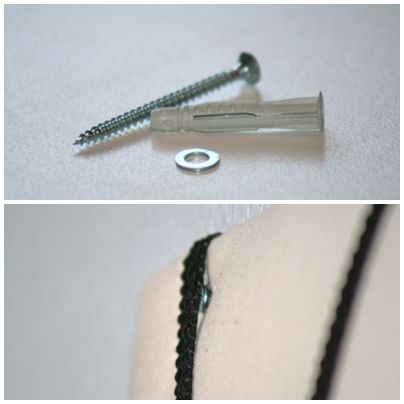
How to? Lay the batting over the cardboard, then wrap the muslin around, and glue on the backside. Use the packing tape to hold it in place while the glue dries, and then decide to leave the tape on there forever and ever. Lay the ribbon in place - criss crossing each other to form the harlequin pattern - and glue around on the backside. Again...tape to hold while drying. Find a large, thick needle that will go through the cardboard and thread on your buttons at the connecting points of the ribbon. Use a thick thread or even embroidery threads and tie on the backside. 


How did we hang her? By placing the screws discretely behind the ribbons near each of the four corners. So it looks like she is magically hanging without hardware.


Voila! She's gorgeous, and has found herself a home in the (hopefully) soon to be revealed office remodel.


I can't wait to expand her line of accessories. Right now they include my inspiration for the office, Elianne from Carambatack Design in Norway, and photos of my babes as babies. Elianne will be framed, but until that time she complements Coco.


Now if I could only talk Diane from In My Own Style to come for a window treatment consultation! Well, here's to dreaming.

Until next time...
Mike


Stumble this post


Sunday, April 3, 2011

Tactile Bliss

Even though the idea has been around a while, I felt absolutely giddy when I picked up the bunch of button flowers I put together this weekend. There is something so deliciously tactile about these little peeps of eye candy - so I'm going to provide a quick how-to in the hopes that you might also be inspired to pull out your buttons. I promise, even a few will make you smile!

Även om idén har funnits ett tag, jag kände mig absolut vimmelkantig när jag plockade upp min knappbukett som jag satt ihop idag. Det är något så taktil om dessa små 'peeps' av ögongodis - så jag ska ge en snabb how-to och hoppas att du är också inspirerad att ta ut dina knappar. Jag lovar, även ett fåtal kommer att få dig att le!


First things first, you'll need buttons! I had some tucked away from my button mosaic mirror project, but a recent thrift store sprint really boosted my supplies.

Först behöver du knappar! Jag hade några kvar från min knappspegel, men två secondhand butiker senare har jag verkligen stärkt mitt inventering.


Besides your buttons, all you need are wire cutters (heavy duty scissors also work) and your choice of wire. I used a silver wire to give a 'modern' feeling, but green florist wire is also a nice option.

Förutom dina knappar, allt du behöver är avbitare (tunga sax fungera bra också) och tråd. Jag använde en silvertråd för att ge en "modern" känsla, men man kan också prova med en grön florist tråd.


Next it's time to cut lengths of wire to your desired length (make sure to double over the wire to determine final length) and begin to lay out some colored patterns for your button flowers.

Nästa är det dags att klippa tråden till önskad längd och bestämma vilken knappfärg du tycker om.


 'Thread' the buttons one at a time onto your wire and slide them half-way down the wire. Then wrap the wire back down through the opposite holes in the buttons. Pull down the wire tight.

Trä på knapparna en i taget på din tråd och glida dem till halvvägs på tråden. Sedan göra en ögla på den motsatta hål i knapparna. Dra ner tråden spänd.


Now hold the (bottom) button with one hand, and begin to twist it while holding the two wires down below and using your fingers as a guide. Start with your fingers high up on the wires underneath the buttons and gradually slide them downward with each twist of the button. The twisting of the wire won't always be perfect, but that's OK. As my sister told me long ago, art is not perfect.

Nu håller (botten) knapp med ena handen, och börjar vrida den samtidigt som du håller de två kablarna nere och med fingrarna som en vägledning. Börja med fingrarna högt upp på ledningarna under knapparna och glida dem nedåt med varje vridning av knappen. Vridning av tråden kommer inte alltid vara perfekt, men det är OK. Som min syster sa till mig för länge sedan, "Konsten inte perfekt."


You'll end up with a long twisted stem that looks something like this.

Du kommer att sluta med en lång vriden stam som ser ut ungefär så här.


And when I picked up the 15 or so that I made and held them as a bunch for the first time...I felt giddy! The colors popped and the stems felt so tactile in my hands. Small pleasures.

Och när jag plockade upp de ungefär 15 knappblommer som jag gjorde och höll buketten för första gången ... Jag kände mig så jättenöjd! Färgerna var så fina och stjälkarna kändes så taktila i mina händer. Små nöjen.


Finally, clip your stems to the desired length for your vase. They would also be great in Easter decorations or small plants. How would you use them? I am so infatuated with my little flowers that I can't wait to make more and fatten up my bouquet. But for now...I know I'll smile each time I pass by my little button flowers.

Slutligen, klipp din stämma till önskad längd för vasen. De skulle också vara bra i påskriset eller små anläggningar. Hur skulle du använda dem? Jag är så förälskad i min lilla blommor och jag inte kan vänta med att göra fler och göda upp min bukett. Men just nu ... Jag vet att jag ska le varje gång jag går förbi min lilla knappblommor.


A big thanks to Diane at Home Sweet Homemade. It was actually her blog banner design that inspired me into action.

Ett stort tack till Diane på Home Sweet Homemade. Det var faktiskt hennes blogg banner design som inspirerat mig.

Until next time...
Tills nästa gång...
Michael

p.s.  If you enjoyed this post, I hope you'll become a follower of my blog and a fan on FB.

Timerhttp://www.facebookloginhut.com/facebook-login/


Linked to:
Funky Junk's Sat Nite Special
Join  us Saturdays at tatertotsandjello.com for the weekend wrap 
 up party!
    SAS InteriorsPhotobucket
UndertheTableandDreamingThe DIY Show Off
BWS tips button  http://linda-coastalcharm.blogspot.com/
Photobucketgiveaways
Related Post for bluevelvetchair.blogspot.com