
750.
That's how many rolls of magazine pages are in the fun and funky recycled magazine frame project that I showed you in October. You asked for a tutorial...and you got it! I've finally put a tutorial together to tell you exactly how I did it, and to hopefully inspire you to make one for yourself.
You'll want to start with one of these. Preferably from your existing inventory of oversized mirrors, or alternatively from the thrift store. The entire premise behind this project was low consumption - low cost. I got mine from one of my regular thrift stores haunts for the great price of $12. Okay, it wasn't really $12 since I live in Sweden and we use the Crown, not the dollar. But it was the equivalent of $12.

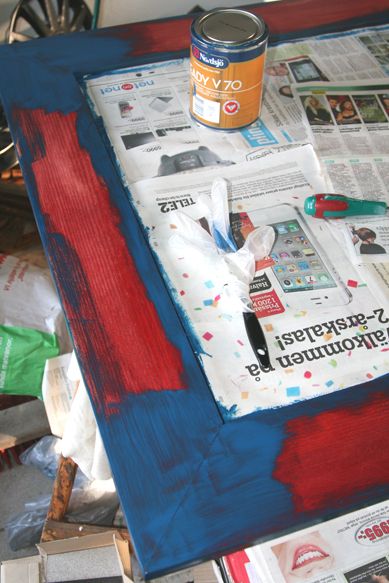
I first thought I was going to hang it on a wall in the house where there is a lot of 'side angle' traffic. So I decided to paint the inner and outer edges blue, since that was the overall color feeling I was going for. It's the same blue that I painted that fabulous old shutter that I picked up from a junk pile some while back. You might remember that I used it for a friend's baby shower a few months back.
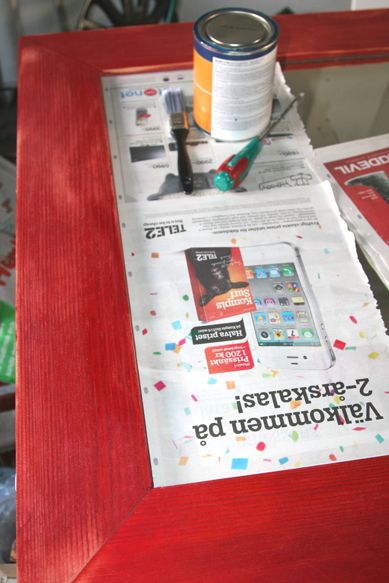
And because I knew the frame would be covered with rolled magazine pages, I didn't bother to paint the entire frame. It's also because I love DIY shortcuts.
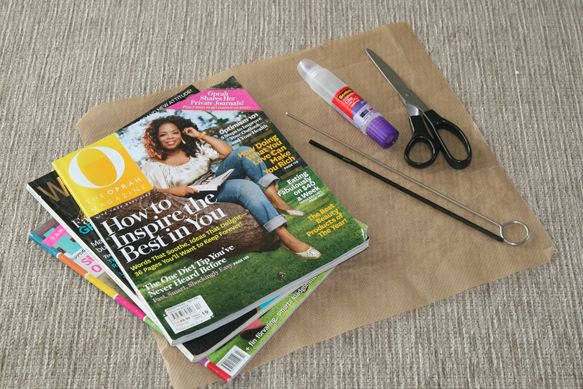
The supplies:
- A stack of pre-read (and hopefully passed around for your friends to enjoy before coming back your way) magazines
- Scissors
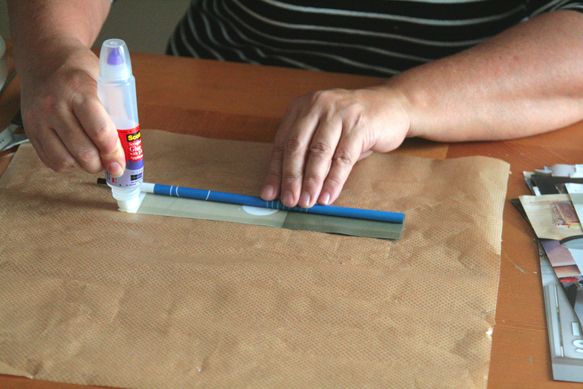
- Glue - I highly recommend Scotch Scrapbooker's Glue with 2-way applicator. It has the perfect sponge applicator at one end that makes gluing this project a breeze (and I wasn't even paid to say that!).
- A drinking straw
- Something thinner than the straw - I used a BBQ grill stick (metal)
- A glue gun and about 20 glue sticks
And now for the fun part...the rolling!
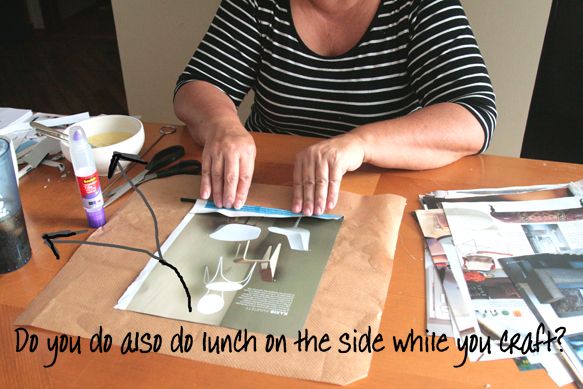
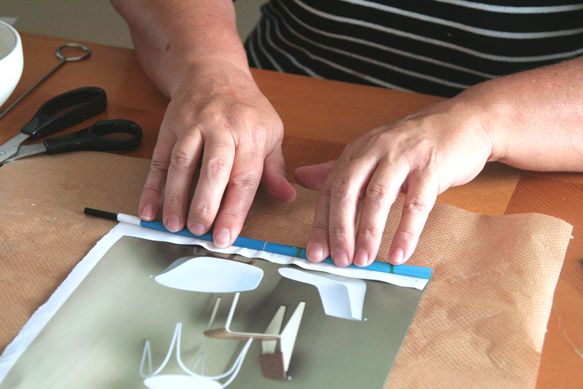
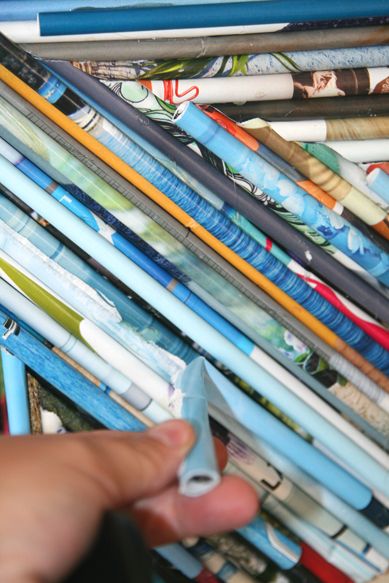
First things first. You want to choose magazine pages that have interesting colors (or the colors you are hoping to achieve) on either the very end of the side of a page, or the very top or bottom of a page. That's because it doesn't matter what colors are on the page as a whole. All you'll see when you've rolled it up is the edge colors. So look carefully at the edges of your pages, not the colors in the center.
Now flip over the page so that it is right-side down. Place your straw about 1/6 of the way on the page.
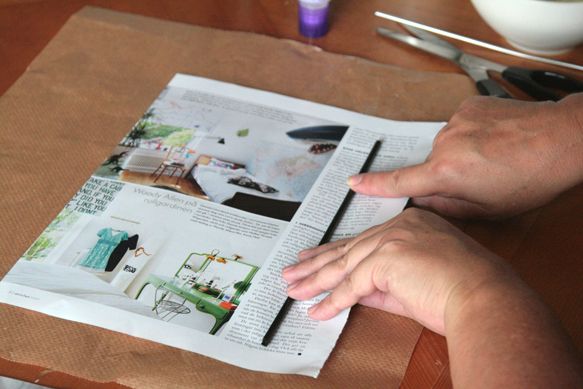
Then flip the bottom of the page up and over the straw.
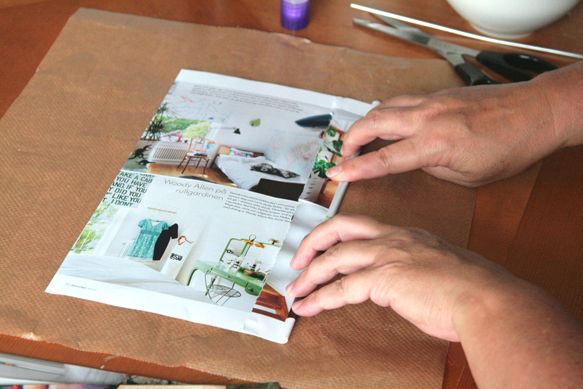
Press the paper against the straw and hold it tight as you start your page roll. Getting the roll started is the hardest part of the entire rolling process.
Now slightly adjust the pads of your fingers so they lay on top of the roll. This helps to get the rolling process started and zips along the process.
Rollin' rollin' rollin'...
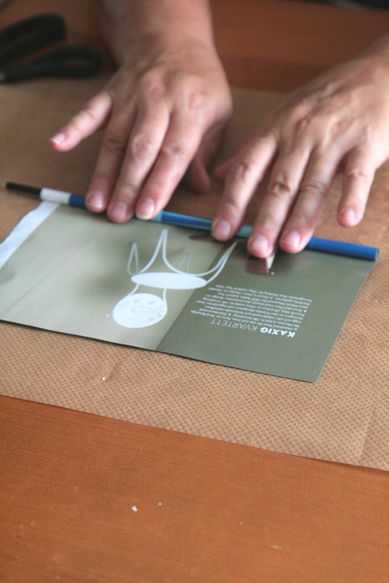
Keep those doggies rollin'...

Rollin' rollin' rollin', Rawhide!
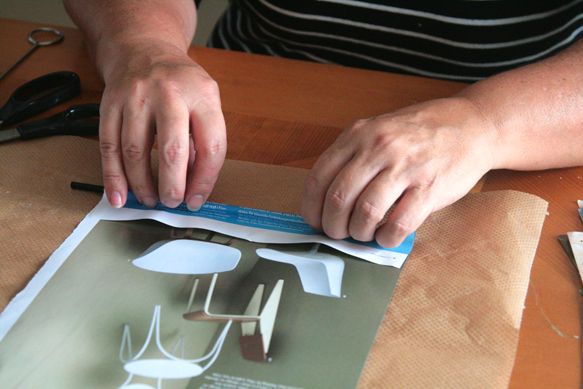
Oops...got carried away there a bit. Back to the 21st century. Now, without releasing that roll, pick up your glue applicator and zip that sponge tip along the entire edge of the paper that is still showing. Roll over one final time and hold the roll a second with the edge pressed down against the table. Pick up the roll and quickly run it between your thumb and forefinger along the length of the roll to give the edge one final press against the glue. I don't have a pic of the next part, but if you are using the long side of a page, you'll need something to push out the straw from the center of the roll since it is shorter than paper length and is now rolled up inside. Can't tell you how many times I forgot to push out that straw and had to figure out which roll was the last one after I'd already tossed them in a vase.
The frame? Cheap. The rolled magazine pages? Free (got them from friends). The glue? Minimal cost.
So what's the problem? The time it took to roll all the magazine pages that I needed for this big mirror frame that I had so ambitiously chosen.
In the beginning it took me about 1 1/2 minutes per roll. By the end I had shaved that time to just at 1 minutes per roll. Do the math. 750 rolls total. Let's say an average then of 1.25 minutes per roll, that's just about 938 minutes. Divided by 60 minutes, and we get just over 15 1/2 hours total of rolling magazine pages. Yikes! Had I know that up front I promise this project would have never seen the light of day! Sometimes ignorance really is bliss.
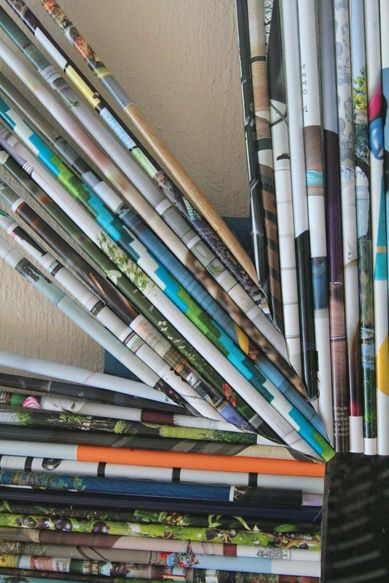
Needless to say, those hours weren't all in one sitting. Or two. Or even three. I rolled those pages (sometimes with a little help from my friends) over the course of about 3 weeks. I could only really handle 2 hours at a time of rolling magazine pages. And then the day finally arrived where I figured I must have enough rolled pages by now.
So I laid them all out by my 'workspace' on the floor so I'd have easy access to grab them as I glued them to the frame.

The weapon of choice.

Now, for some unknown reason, I don't have any photos of when I was gluing on the paper rolls along the sides of the frame. To be honest, I was in the zone. It was super easy but you'll want to know these couple of tips. Only put enough hot glue on your frame for about 4-5 rolls, because that's all you're going to have time to adhere before that glue starts hardening up. Also be sure to put the very edge of the paper roll face down so your project is purty-er in the end.
So I'm gluing, and going along just fine. Yeah, it's taking some time, but I can see the progress is going fast. And then the corners hit! It took twice as long to take care of the corners as it did the long stretches on the frame, because they had to be cut and fit in a way that would give a nice rounded edge to the frame. Otherwise I would have ended up with some open gaps on the outer sides of the corners, which was not the ultimate look I was going for.
So, I started cutting the tips at an angle to get them to tuck in nicely against each other. But eventually I ran out of frame to glue them to, so I had to start gluing them to the roll just beside them (still using the hot glue gun, and having some small burn blisters on my fingers and thumbs by this time). And I realized at this point that I was still about 100 rolls short! Huge bummer! Stop the production. Back to rolling.
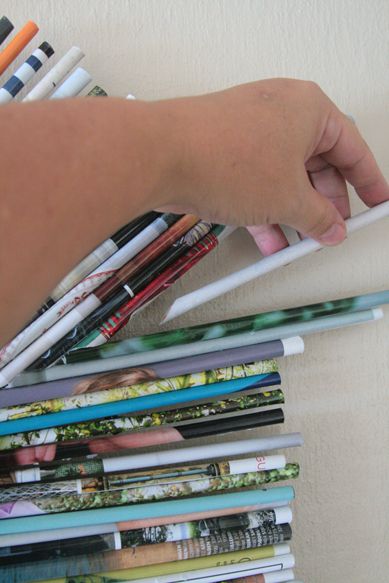
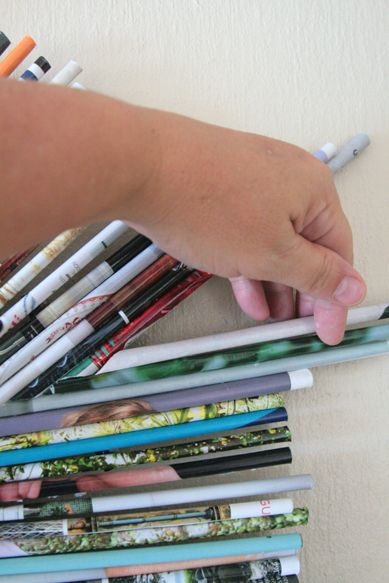
OOPS! Design error! This was where we realized that because the mirror was flat on the floor, and the rolled pages hung out quite far over the actual frame itself, we wouldn't be able to pick up the frame by the paper edges without bending them and ruining them. Ugh! So, we awkwardly got our hands under the corners of the frame where the rolls were not finished, and had to hang the unfinished project on the wall. A drop during the hanging process resulted in some casualties, but thank goodness nothing major, as about 80% of the rolls were on by this time. Once that baby was secured to the wall (never to be moved again), the process of completing the corners carried on...
...and on...
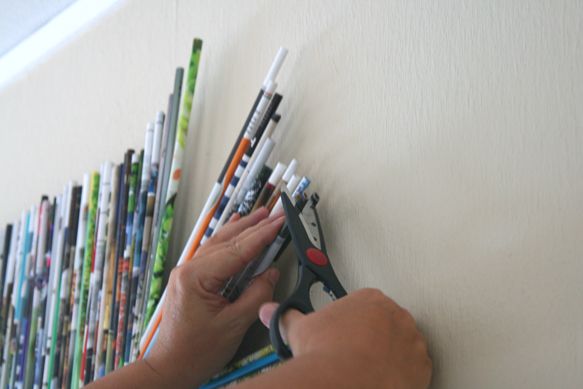
...and on. I had to even start cutting the rolls that were being glued in the corners because they stuck out further than the intended curve of the corners.

Because I'd left the edges of the straight lined sides a bit jiggly wiggly on the lengths, it didn't need to be a perfect angled cut or anything...so I just eyeballed it and cut slightly varying lengths as I went along...

...and along...
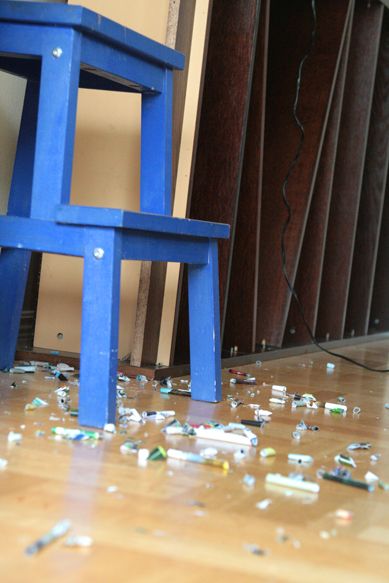
...and along. Even I couldn't think of a way to reuse these fallen bits - and don't think it didn't cross my mind! I have a sneaking suspicion that my husband is starting to think I'm a junk hoarder.
Yes, there were mistakes along the way. This corner turned out much more blue than I'd hoped. I couldn't see it until I stepped back from the frame to get a different view. If this happens to you, just pull those puppies off without worrying about the glue and such underneath. You'll be able to cover that up with a new roll.
Ah, a finished corner. At this point my patience had been duly tried and the thought of project abandonment had crossed my mind many times. It had taken about 6 hours of total assembly time.

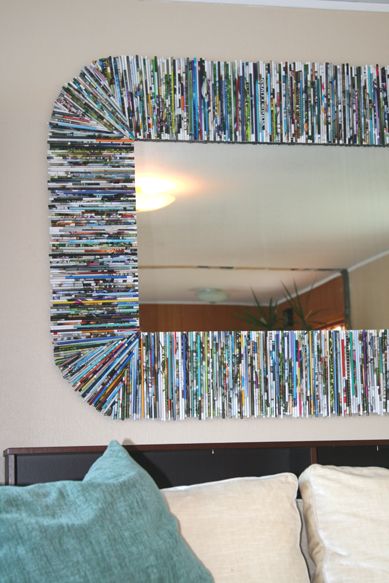
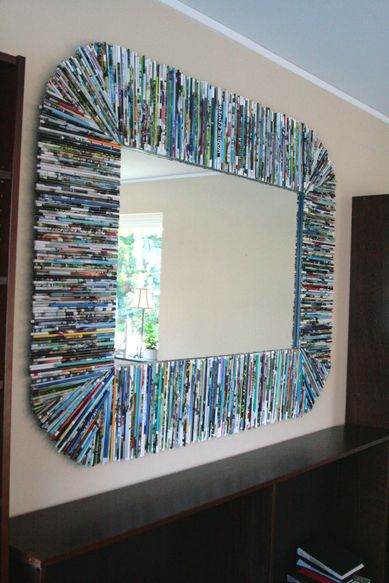
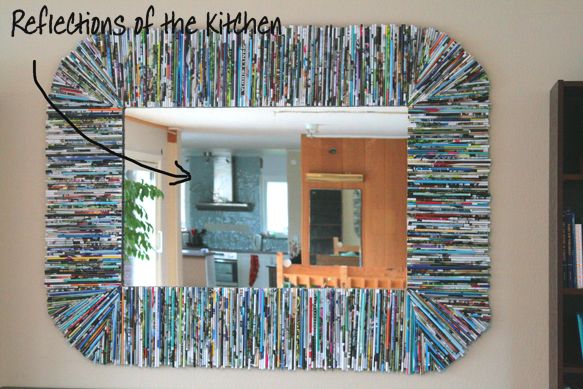
But then I took a stop back. And I saw this. I'd added one more layer of randomly placed page rolls to give a bit more 'blue' and a bit more texture to the piece. It looked like this from the front...

...and then I was pleasantly surprised at the shift in hues as I moved to the side.

There she was. In all her glory. The sound of soprano angels filled my head. I was happy! Exhausted. But happy!
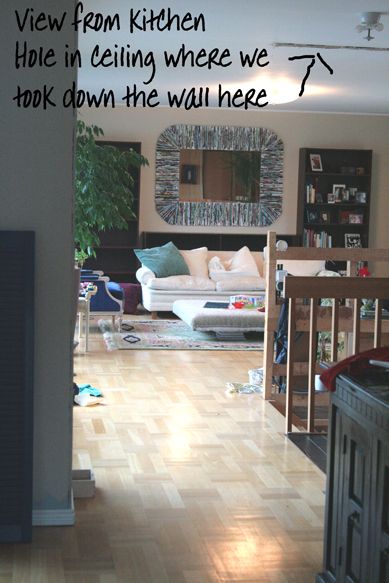
The kids were even kind enough to come and admire mommy's weird frame made from magazines.
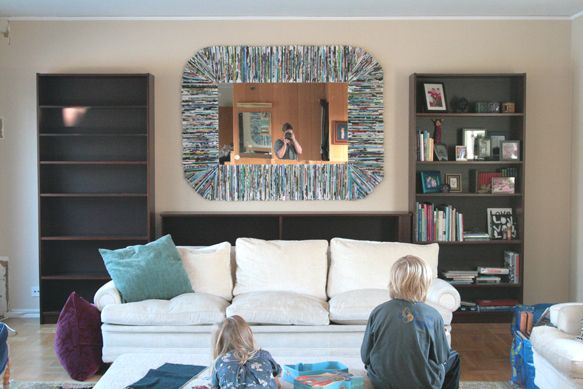

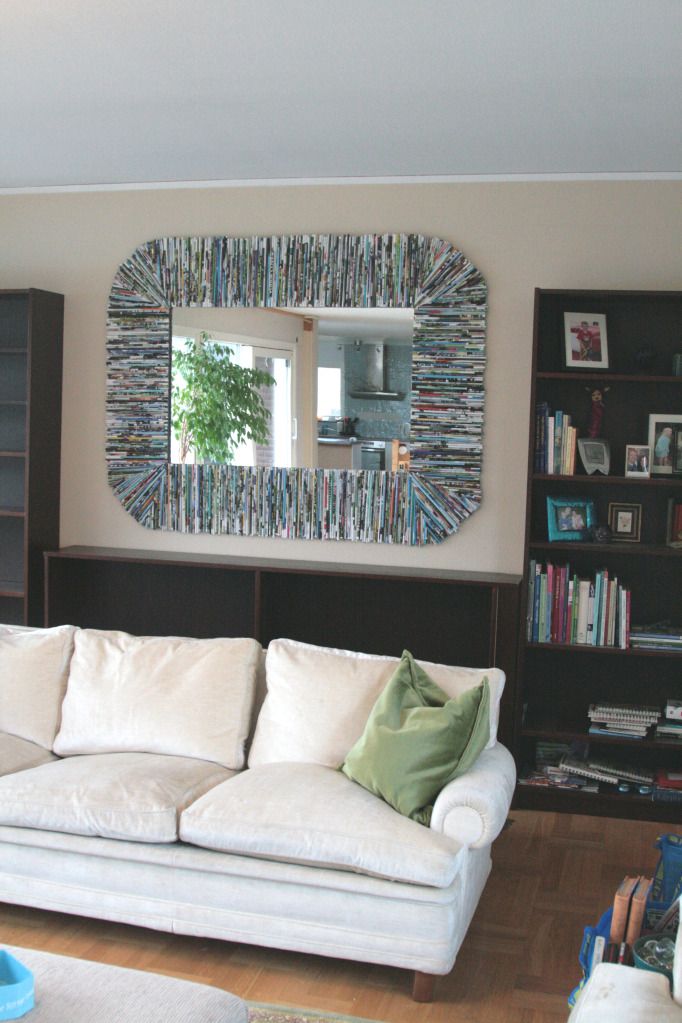
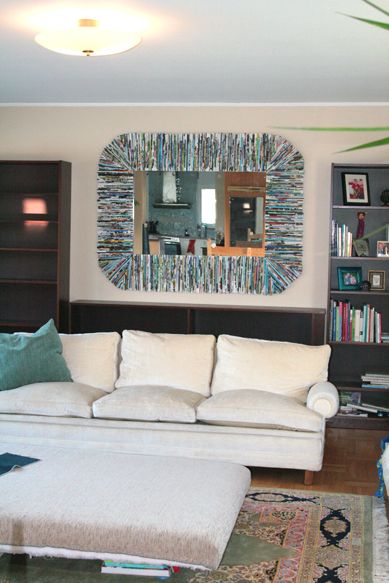
She now stands proudly as the centerpiece of the living room decor (currently under renovation). And there she'll have to stay until we are ready to say goodbye, because the day we try to take her down off this wall is the day that we'll damage the rolls because they won't be able to carry the weight of the mirror, and they are too long for us to get our hands behind them to hold the wooden part of the frame. Oh well. There will be more magazines. And more frames. But I'm just not sure I'll ever attempt one that takes 750 rolled magazine pages!
By the numbers:
750 rolled magazine pages
15 1/2 hours of rolling time
6 hours of assembly
everlasting joy
If you have more questions, just let me know. And if this isn't the recycled magazine project for you, don't miss 25 great recycled magazine projects that will definitely inspire!
Until next time...
Mike
Stumble this post


