Before we begin, don't miss the post this week with 33 inspirational recycled tie projects, and a few more at Pinterest.
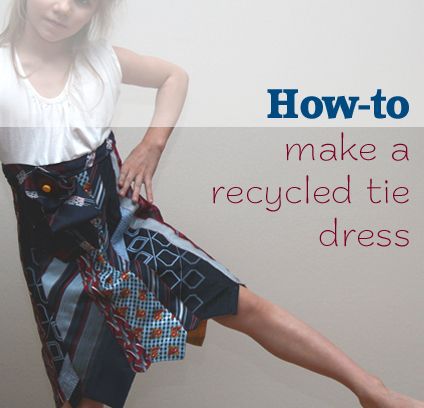
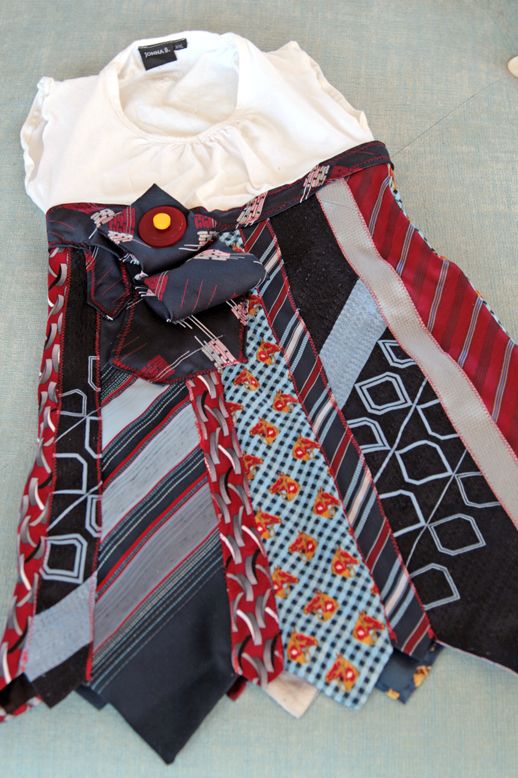
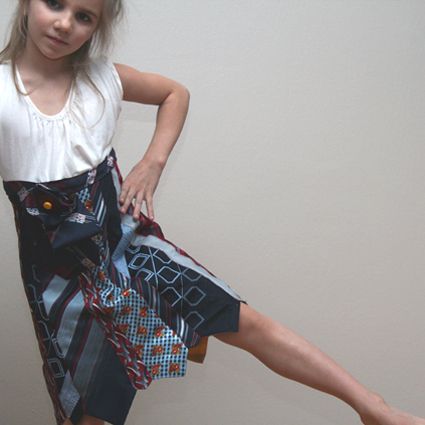
Last weekend I finished an experiment that had been on my 'must try' list for quite a while - a recycled tie dress for my Divine Little Miss M. And although it was a serious sewing hack, I'm quite pleased with the results...and so was M.
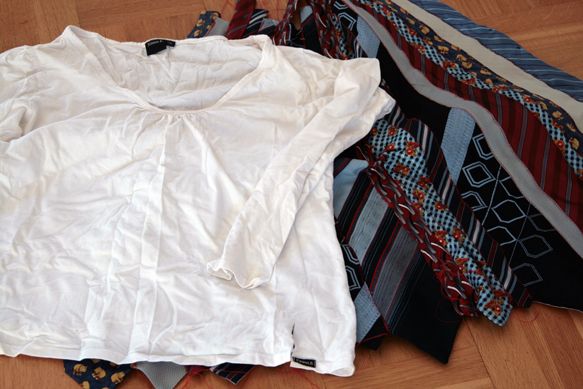
I promised a DIY tutorial for my recycled tie dress - despite the fact that I am far from a real seamstress. Before you start make sure that you've gathered a fun selection of used ties with similar color hues but different patterns. I chose blue and red as an overall color mood, but you'll see pops of gray and yellow as well. Several of the ties came from thrifting and a couple came from the closet of my friend's husband. To give you an idea of the number of ties you'll need, this dress is for a 7-year old and I used 10 ties - 9 for the skirt and 1 around the waist where the ties and Tshirt are sewn together.
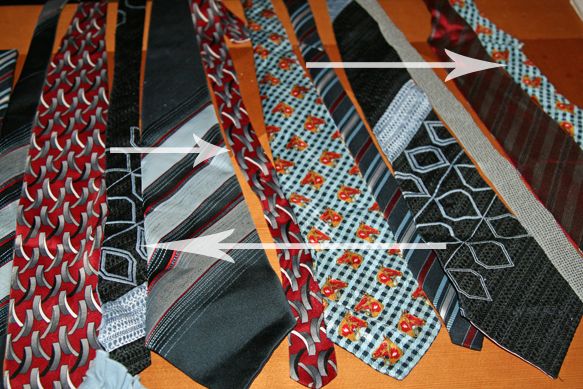
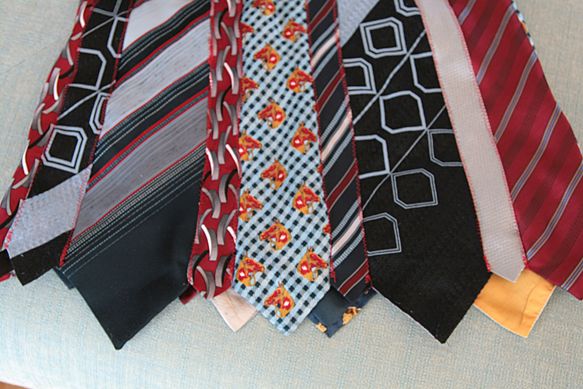
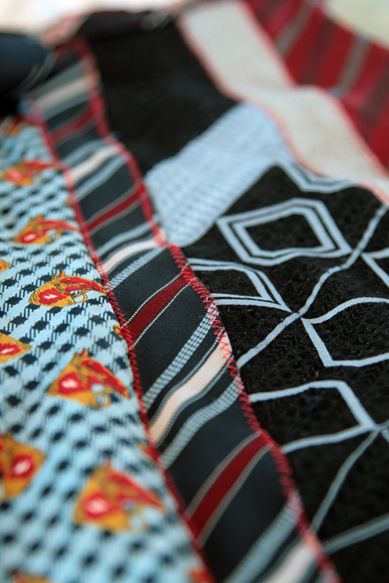
Cut your ties in half so that you are now working with a wider piece (front of tie) and a thinner piece (back of tie). I laid them out with alternating widths (wide, thin, wide, thin...) and mixing so that the matching backs were several ties away from the fronts. The nice thing is that the ends already have beautiful seams, so I left them as is and decided to sew the ties together side-by-side with just a very small amount of overlap (1/4 inch).
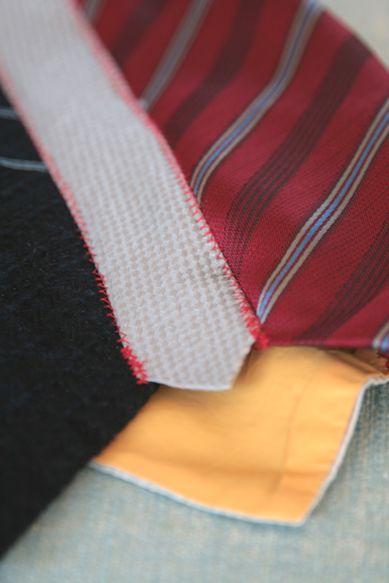
I pinned two ties together (both right side facing up with just a bit of overlap) and used a zigzag stitch on the '2' setting on the sewing machine. Then I pinned the next tie and did the same, continuing until I had enough to wrap around Little Miss M's waist. This is part of the hack - I don't use patterns and I do a LOT of eyeballing. Both sides of the thinner tie sections were always on top of the ties beside them, and I started sewing from the pointed end going upward. Because the front side of the ties are wider at the pointed bottom, it gave the natural A-line needed for the skirt to flare out a bit at the bottom.
I could have used a contrasting thread like yellow to give the skirt a more eclectic personality, but I chose to stay with the red and blue color mood, so I used a red thread - which still gave a nice effect against the ties.
Now, if you remember my last sewing experiment with the sweater skirt made from recycled winter scarves, you'll know that I will do almost anything to avoid sewing a waist. I just don't know how to do it. So, to hack my way around it this time, I decided to take one of my old Tshirts that I had in the 'do something with this' pile, and I cut off the side seams straight up to the shoulders (cutting off arms as well). After another eyeball on Miss M to see how much the V-neck needed to be lifted, I sewed a new seam across the shoulders, sewed new side seams, and created a seam around the new arm holes. And because I don't know the proper seams to use with Tshirt material, I always seem to get that slight ruffled effect (at least I tell myself it's a ruffle effect). Does anyone know the right seam and stitch size to get a flat seam on Tshirt material? PLEASE tell me!
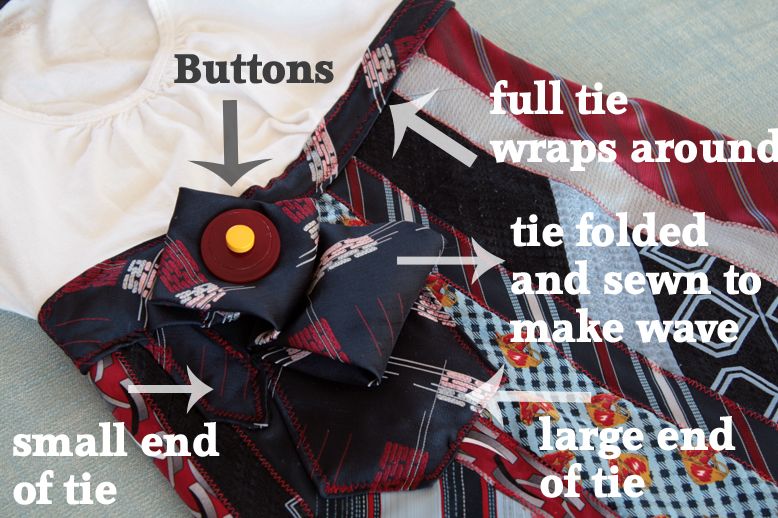
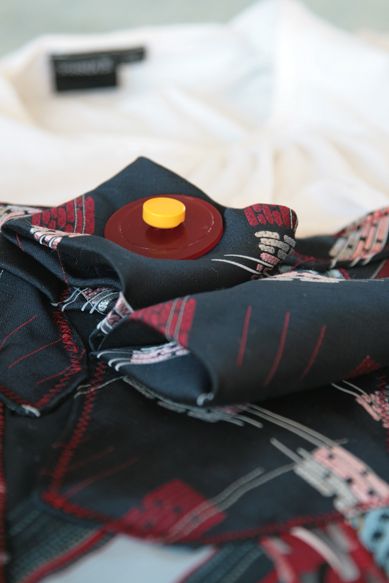
Next I just tucked that downsized white Tshirt down inside the tie skirt and sewed a zigzag seam right along the outside. I first thought that I was going to leave it with the seam exposed, but decided to give it a more 'finished' look by taking one more tie and wrapping it around the waistline. Then I simply zigzagged both sides of the tie all the way around. On the front side, I created a little 'free-flow' design with the ends of the tie and just sewed across the tie underneath each fold. I finished the little free-flow design by sewing on two buttons.
That free-flow design was inspired by the great recycled tie creations at Ties & Whimsy in Australia, so make sure to check those out if you plan to do anything for yourself.
And there you have it. This tutorial is about as hacked as the sewing job was, but I hope it gives you enough of a hint and enough inspiration to try your own.
One thing I would change if I were a better seamstress would be the upper part of the dress. The tie skirt is quite heavy compared to the Tshirt material up top and it pulls on it just a bit too much. This dress would be perfect with a white button down upper part - and if I knew how to downsize a man's button down to a kid's button down like this one below from Dana Made It, I think that would have made this recycled tie dress even better (I would only need the upper part of this re-do below).
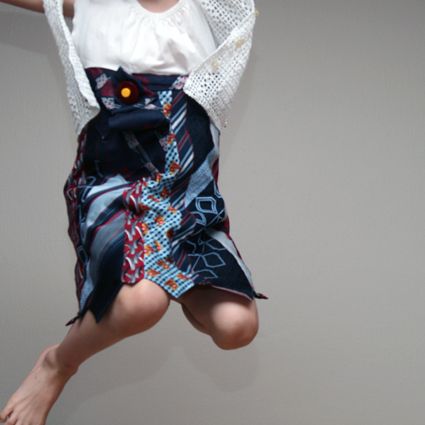
But, all that aside, Divine Little Miss M was pleased with her new dress experiment - and she gave it a whirl to make sure that all parts were working.
Don't miss the post earlier this week with over 30 inspiring ideas of what to do with recycled ties. There is something a bit luxurious about tie fabric and patterns, and there are some great projects out there to try.
Until next time...
Mike
Stumble this post
I'm also partying at these fun linky parties!


this is beyond cute!!! amazing!
ReplyDeleteThanks, Jamie. We need to hang out sometime! We can cross-inspire each other :-)
DeleteI absolutely love that! Your tutorial was great!!
ReplyDeleteAlways good to have you visit! Thanks for the boost.
DeleteThis is so cool. What a great project - we have tons of old ties lying around and this would be a fun project for them :)
ReplyDeleteLove for you to share this at my Wednesday's "Made by ME" linky party here:
http://www.jaqsstudio.com/2012/02/made-by-me-20-linky-party.html
Thanks! I've hopped over and joined your party! Thanks for the tip!
DeleteWow! How cute is that skirt! I love that you made it out of ties! Nice thinking outside the box mama! :)
ReplyDeleteThanks! I really enjoy these kinds of experiments, even though I'm crap at sewing. Having fun, though!
DeleteGreat dress Michael! When I'm stitching t-shirt material I just use my regular size stitch (2.5) and hold the fabric both in front and behind your sewing foot to keep it from 'ruffling' - but at the same time be careful not to stretch it!
ReplyDeleteLove the style of this though! Great job!
Thanks for linking to a Round Tuit!
Hope you have a fabulous week!
Jill @ Creating my way to Success
http://www.jembellish.blogspot.com/
Thanks for the sewing tip, Jill. I think that's my problem...I'm tugging on the material too much. I'll give it a try again to see if I can avoid the ruffling.
DeleteLove! I made a tie skirt, and wear it all the time! http://dontmisit.blogspot.com/2011/04/tie-skirt-recycle-reuse-recreate.html
ReplyDeleteI'm sure she will love it!
Margo - I've been seriously thinking about doing one for myself...glad to know it's been done and going over to check yours out now. I'll make sure to pin it to my recycled ties board at Pinterest. Thanks for the lead.
DeleteM
I have wanted to make a recycle tie skirt/dress since I saw it on the television show Blossom. Great tutorial and I'm so excited to try it myself, ...finally. Thank you for the final push of inspiration.
ReplyDeleteNow that you mention it, that is exactly the type of thing that Blossom would wear! If you do make something, come share it with us on Facebook.
DeleteHey Julie - Thanks for the invite! I'm over there and partying :-)
ReplyDeleteI think your creativity more than makes up for any lack of sewing skills! Your tie waistband is inspirational.
ReplyDeleteI can't really see the "ruffle" effect you mean, but I am guessing it is due to stretching the fabric as you sew. There are a number of possible solutions - use a longer stitch length, loosen the pressure on your presser foot if possible, use something as a stabiliser such as water soluble stabiliser if you don't want it to be seen or some type of ribbon or fabric if you do want it seen.
If you want to get a book to learn more sewing techniques, Readers Digest has a very good one.
Thanks for all those great tips!
DeleteVery creative idea! My husband has so many ties that I never see him wear, I'm sure he would notice if I made a little tie dress myself :)
ReplyDelete-Jackie @ Matching Ties
This is so awesome - I am your newest follower from TheStuffofSuccess. Feel free to stop by and say hello. Have a terrific week. Athena
ReplyDelete